Saturday, March 30, 2013

2 Birthday Cards and a Thank You card

Yes, I am still posting cards from the  Crazy for Cards event from last weekend. It does take a while to post 15 cards. Today's cards are designed by Shawn O'Neill.


Look at those candles! Those are paper candles. Roll up paper using Liquid Glass as an adhesive to keep it together. Liquid Glass is a very strong adhesive-- perfect for this sort of thing. A little bit of hemp is added at the top as the wick. Background paper is Surf's Up. The stamp set is Just A Number.


This is a card made from Cricut cuts. Use the Cricut Artiste cartridge. The cupcake is on page 69 of the Artiste booklet. Paper is Claire and the stamp set is Joyful Birthday.


The paper is For Always but it has been sponged with honey ink. What a great idea to entirely change the paper. The stamp set is Thanks and is accented with some starlight glitz.

Tomorrow, I will post the last 3 cards from the Crazy for Cards event.

Have fun with paper today!

Friday, March 29, 2013

More Cards From Crazy For Cards

Today I am posting 3 cards from my Crazy For Cards Event that were designed by Deanna Cave (http://craftswithdeanna.blogspot.com/).


This cute little fish is from the Under The Sea stamp set (item #C1500). Deanna used distressed Twilight paper for the background. She used a sandpaper block from the sanding kit (Z1294) to achieve the look. Some hemp and some liquid glass adds nice finishing touches to the card.


We are always looking for a masculine card, right? Well, here you go. The paper pack is Later Sk8r (X7167B) and the stamp set is Born To Ride (C1483). At Scrapbook Expo 2 weeks ago, this stamp set was very popular. I didn't realize how hard it is to find a motorcycle stamp.


And finally, we have a new baby card. Love this stamp set-- New Baby (C1541).

Cute set to use in cards or a baby book.

Deanna used Chantilly paper and finished the card with a little glitz and sparkles.

Be sure to hop over to my shop site and purchase the stamp set or paper you liked. Just click here.

I still have 6 more cards from Crazy For Cards to post. 3 more tomorrow.

Tonight, I am going to join my scrapbooking friends for and evening of paper crafting. I am going to work on cards for my card swap tomorrow, do another page on my picture of the week album, and then start on a few pages from my camp album. I'm looking forward to a great time laughing and creating with my friends. I hope you will be able to play with paper today!

Thursday, March 28, 2013

Card, Card, and Another Card

I have some more cards here from our Crazy For Cards event this past weekend. These three cards were designed by Kristina Baldwin of  http://sunnydaymemories.com/. She is a wonderful artist, and I am always excited to see what she  brings to our events.


Paper is For Always, Daisy White, and Slate. Stamp set is the Happy Couple (D1539). Ink is slate. Accents are glitter paper and buttons- black assortment.  Love the cut of this card. I will have to do some like this.


Another different card style. And a cute little dog! This is from the A Bowwow stamp set (A1126). Paper is Buzz and Bumble. The dog was colored in with water color pencils. Other accents are hemp and buttons.


The final card for today is one that uses some cuts from the Artiste Cricut Cartridge. Yes that mustache is on the Artiste. The stamp set is Perfect Fit- Dad (#C1542). Paper is part of the Tommy collection. Accents include Hemp Twine and buttons. 

More cards from another artist tomorrow. Have fun with paper today!


Wednesday, March 27, 2013

Graduation Card and Floral Card

Here are two more cards that I made for last weekend's Crazy for Cards event.

First a graduation card:


This is a really quick and easy card using the Congrats Graduate stamp set.


This is a great set to have on hand so you can be ready to make a quick grad card at anytime. Change the colors to be the school colors.

The ribbon is made out of glitter paper. I also used the For Always paper and daisy white card base.

The next card is another quick card:


The stamp set used is from the Buzz and Bumble Workshop on the Go Kit. This stamp set only comes with the kit, but it is well worth it. This kit will be used up completely.

If you have been watching this blog, you know I have used this stamp set time and time again. I just love it!

I randomly stamped the  small flower on cocoa paper with cocoa ink which gives the look of patterned paper. The large flower is stamped on gold rush paper and then cut out. I used a little 3-D foam tape behind the middle flower. I used hemp twine as an accent on the sentiment. The only time consuming thing about this card is the cutting. Everything else is quick and easy and very pretty.

Tomorrow I will begin posting cards from other members of the Crazy for Cards team.

Have fun with paper today!

Monday, March 25, 2013

Step Card

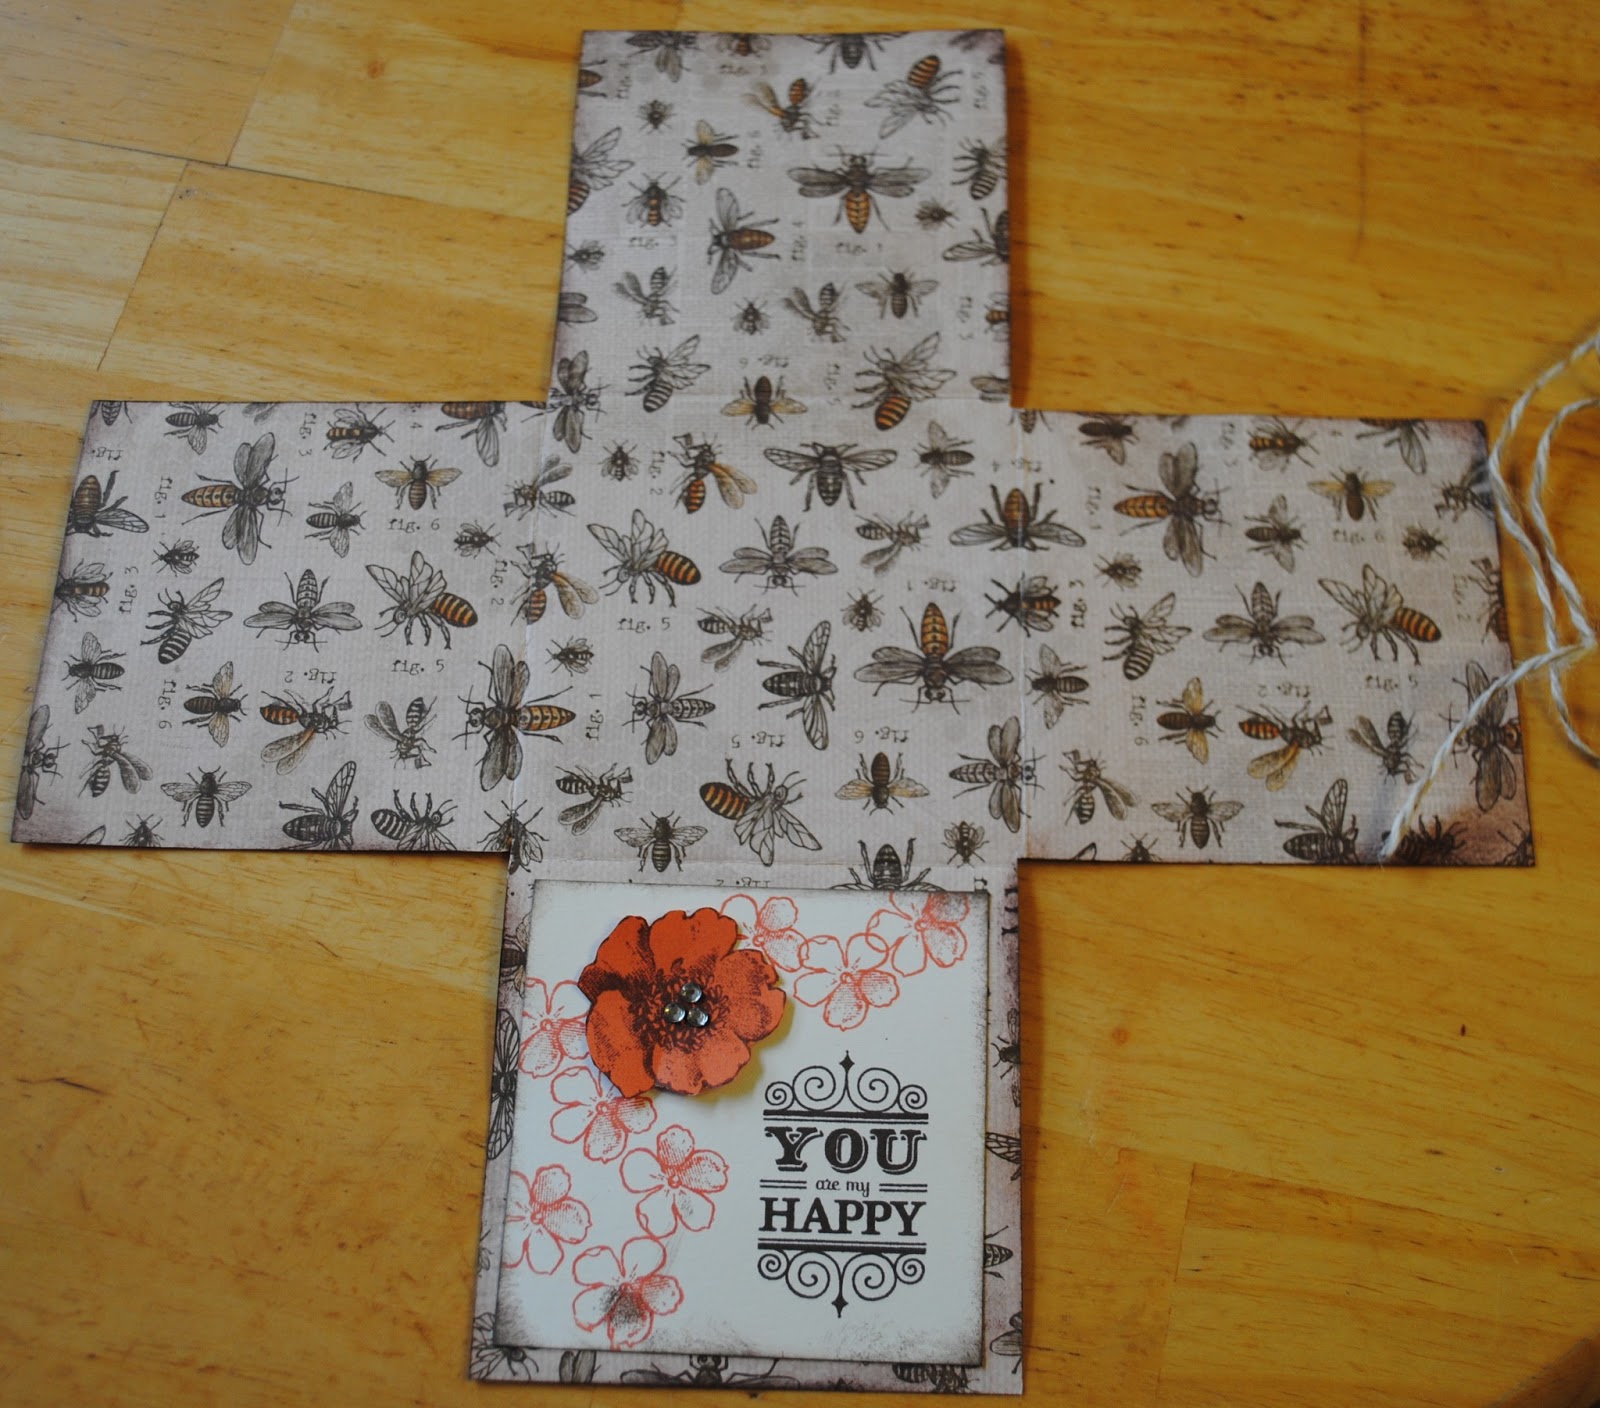
I had a great time working with crafters at my Crazy for Cards event on Saturday. One of my cards was a step card. Many were interested in the directions and were surprised at how easy it is to make this fun card. 


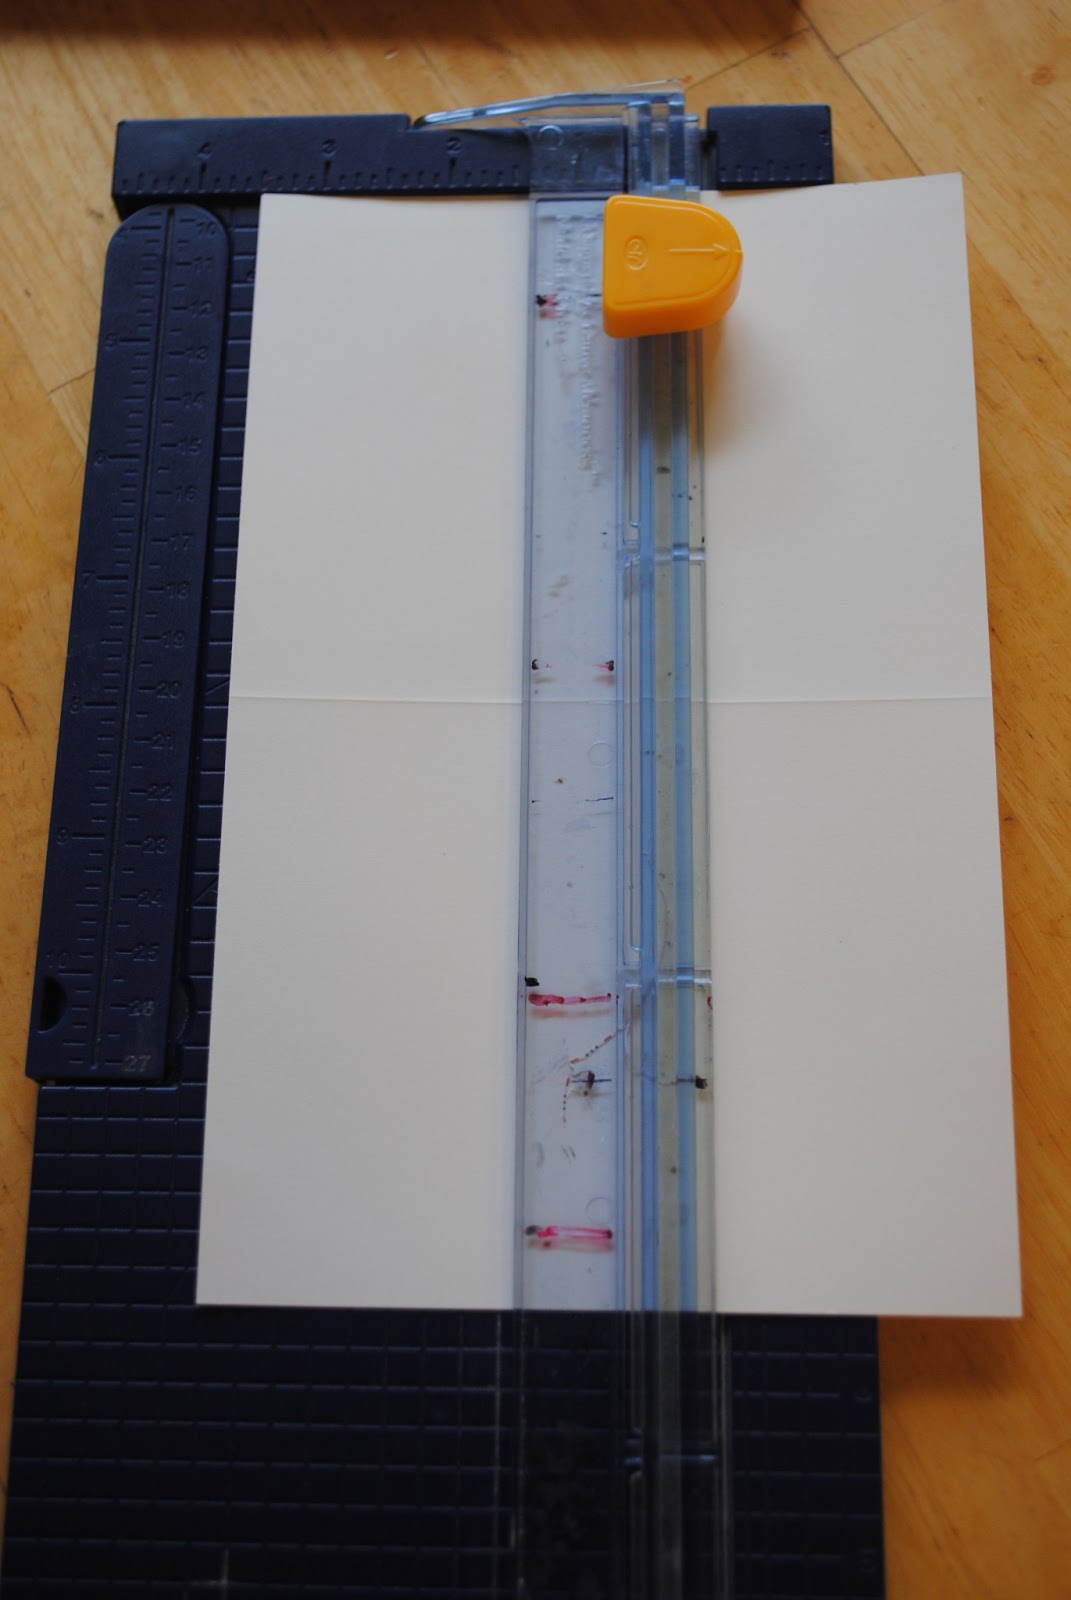
I started with a 8 1/2 by 5 1/2 card-- straight out of our value pack (item # X1410).  Using the trimmer, I cut a slit in the card 3 1/2 inches in at 1 inch all the way to 6 1/4 inches. The diagram above will hopefully help this make a bit more sense. 


Next, I scored the fold lines at 1, 2, 3 1/4, 4 1/4, and 6 1/4. The 4 1/4 line goes all the way across (but if you are using a card base from a card pack that will already be scored).

Now the folds:


At the 1 inch is mountain fold, then a valley and so on.

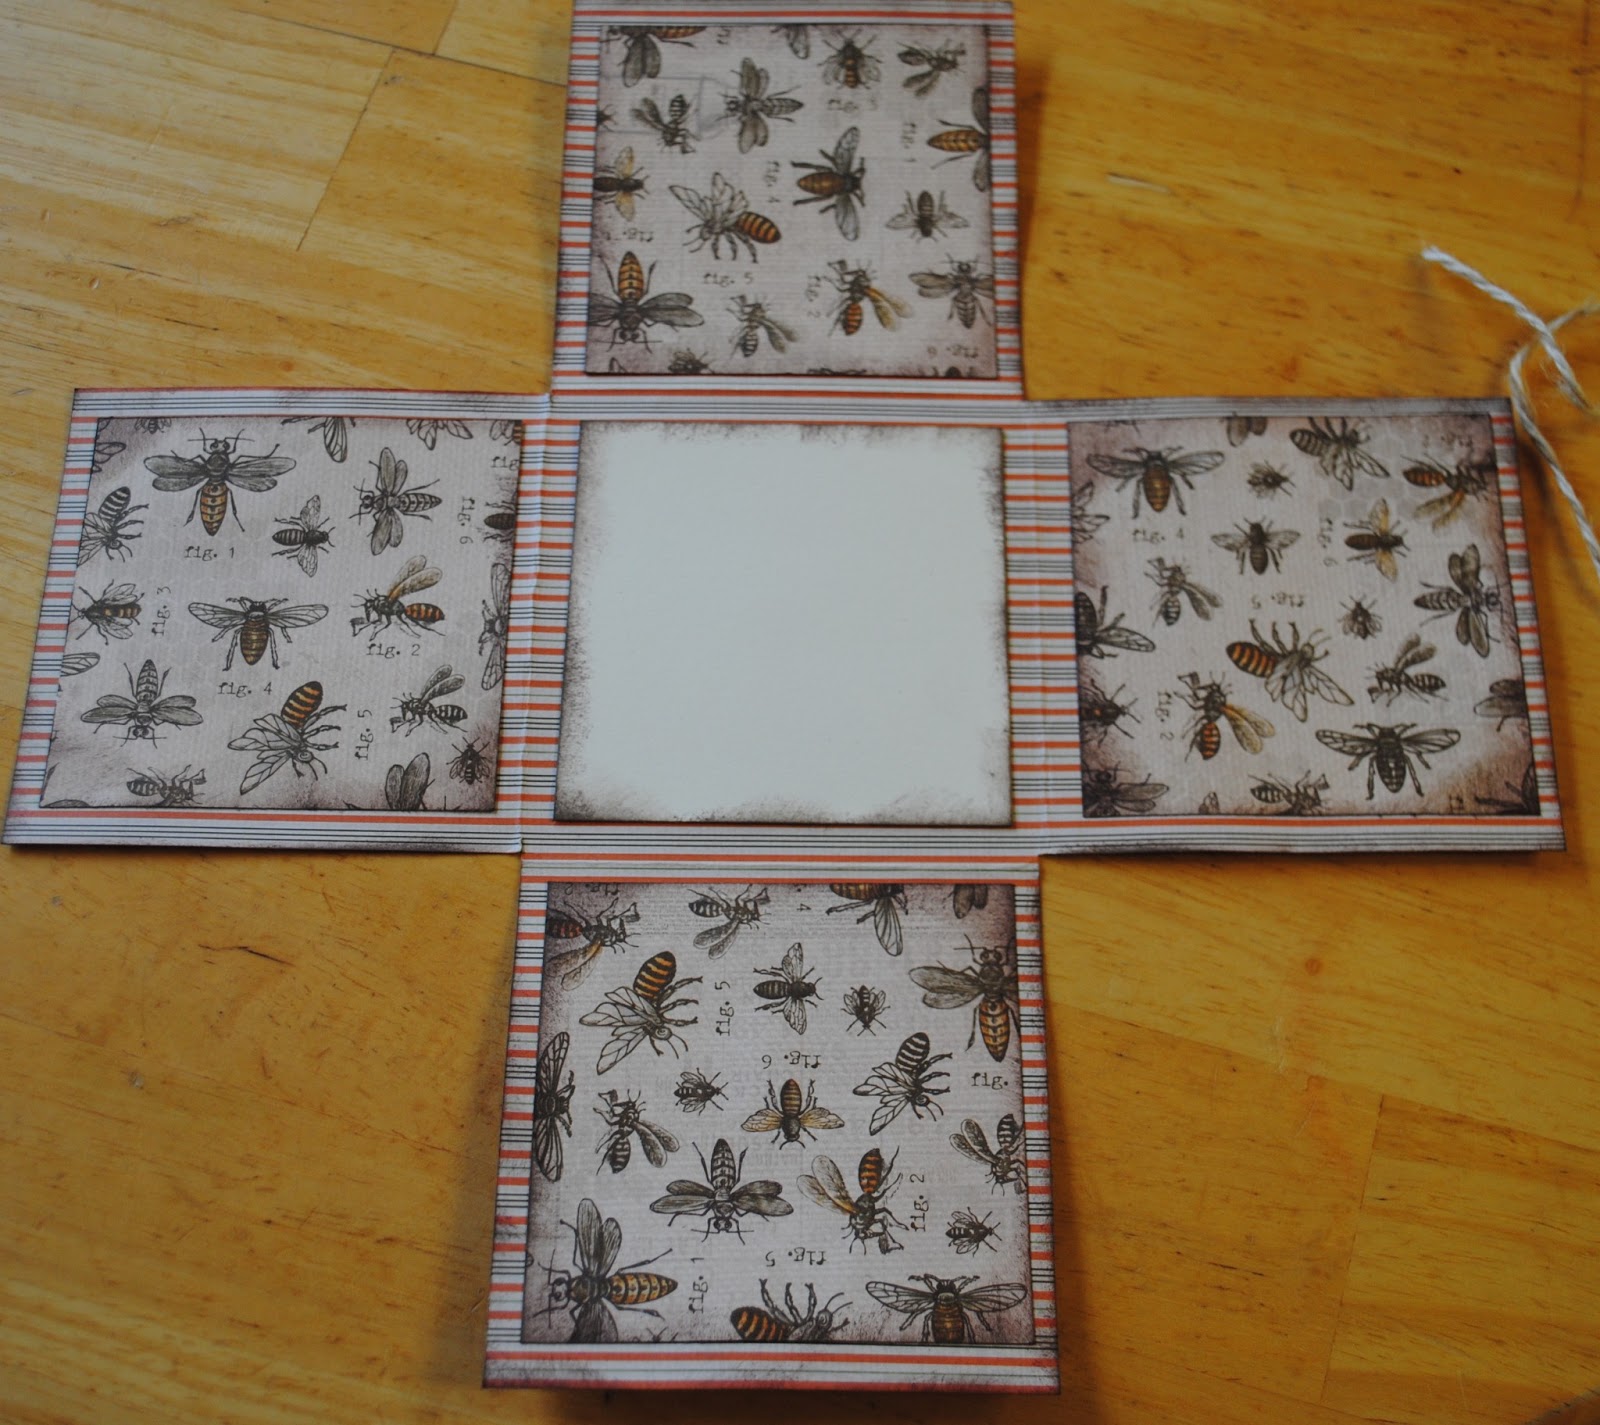
The steps are shown in the photos. 

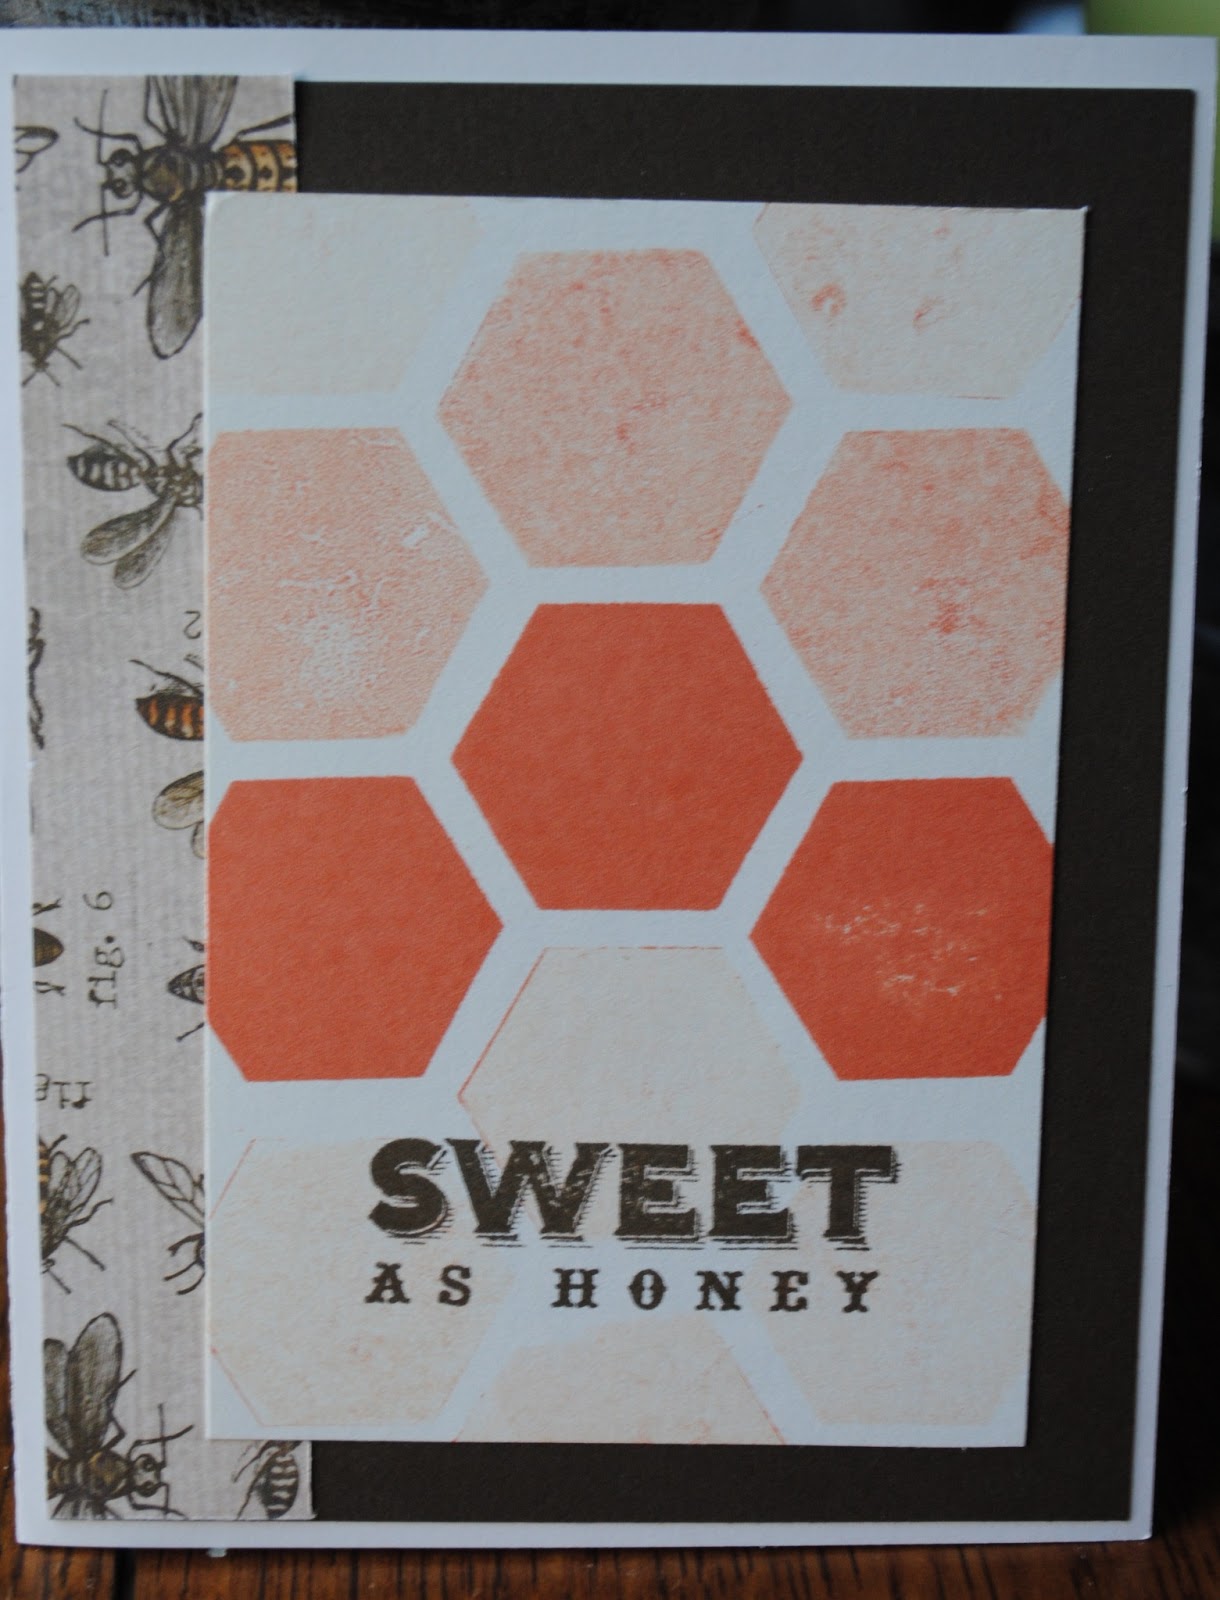
Now we are ready to decorate the card. 


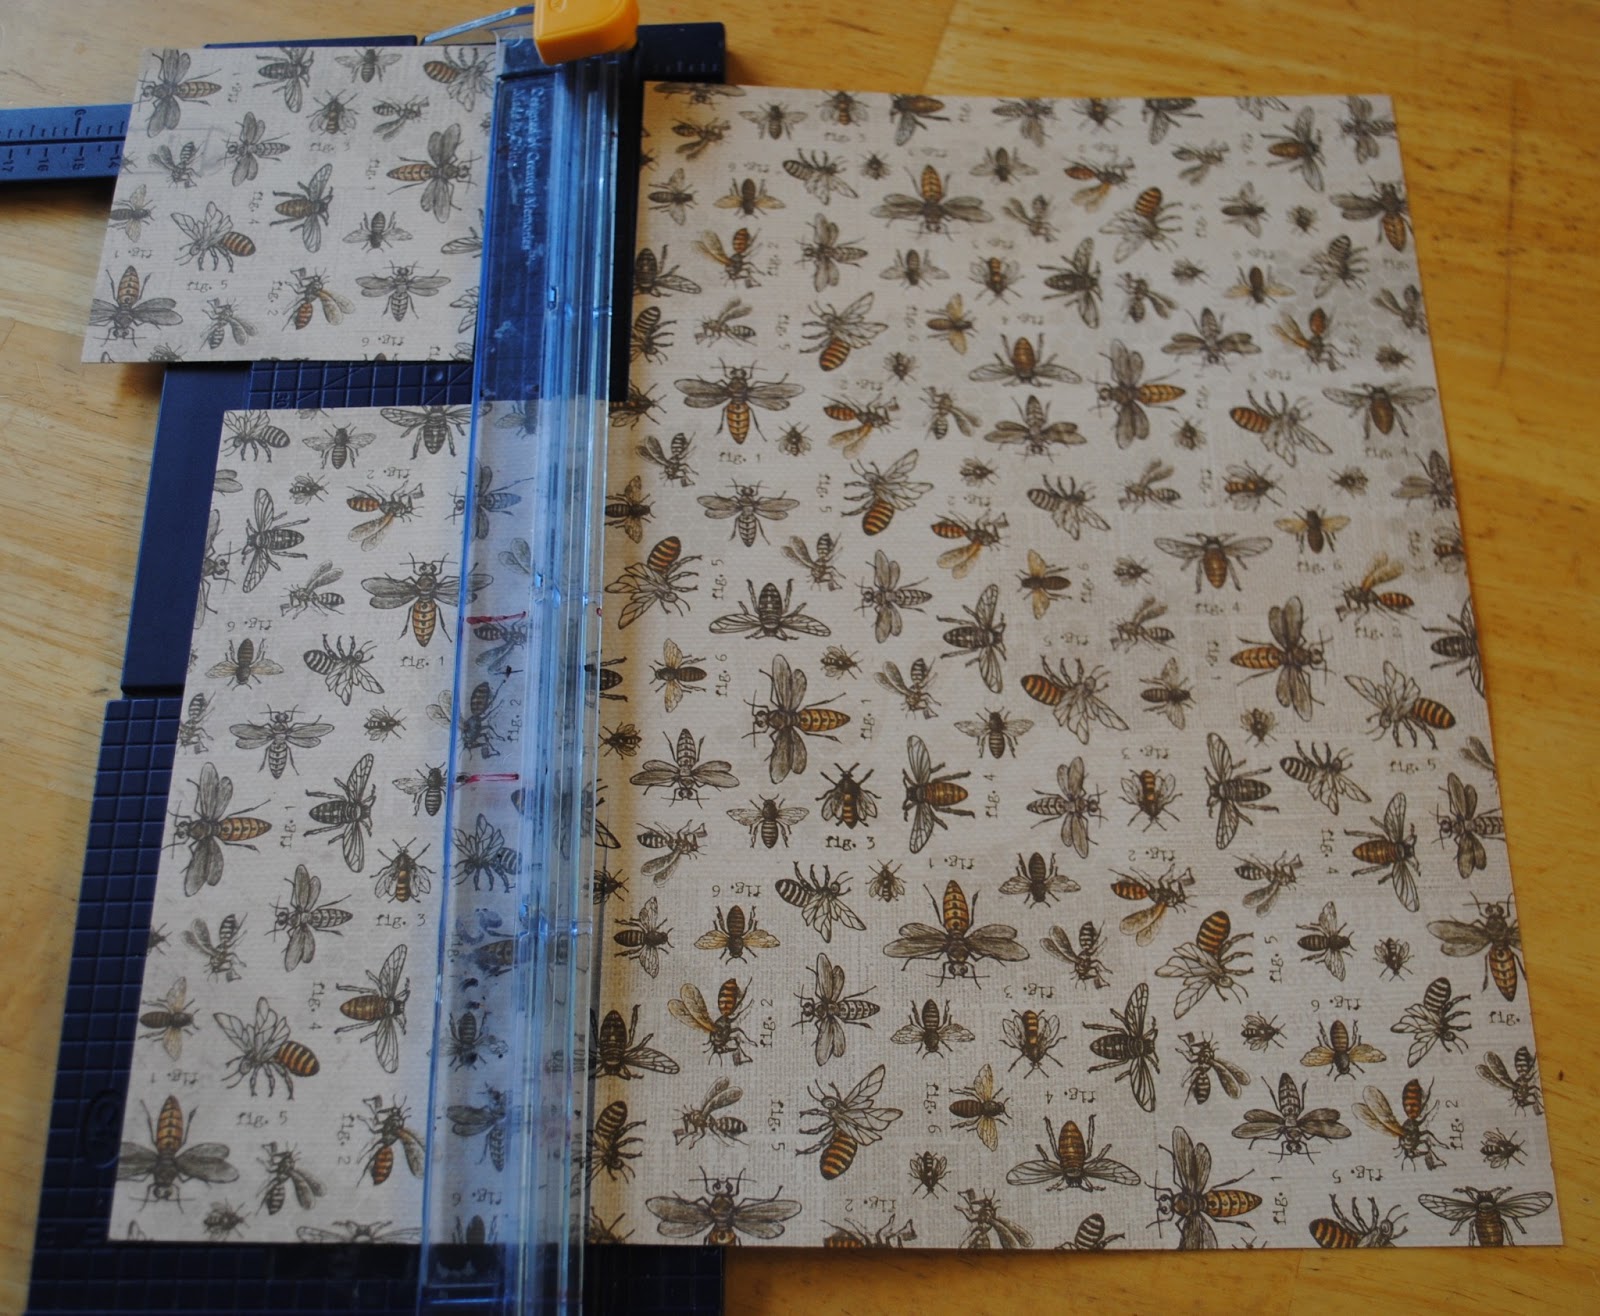
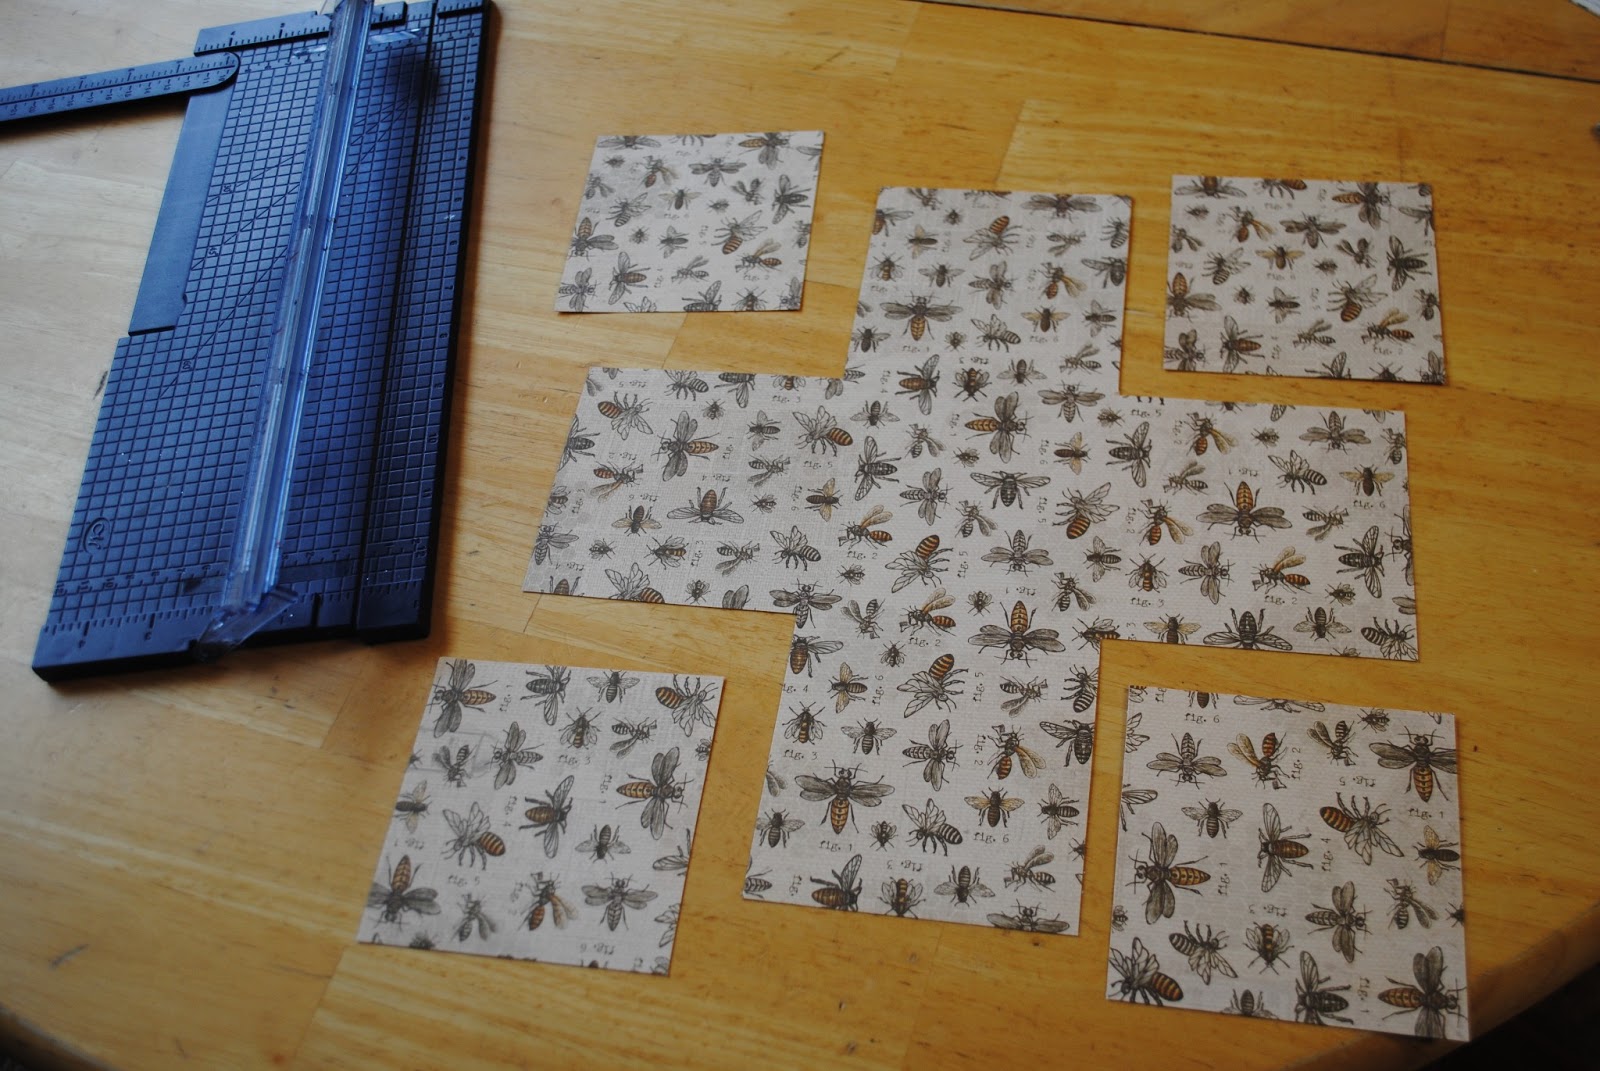
I used cranberry, outdoor denim, desert sand and Tommy papers on this card. Notice that the size of the  papers do not match the card base. I found the card needed a little more color and increased the size of the paper. 


The stamp set from the Chantilly Card Workshop on the Go Kit  (G1061) was perfect for this card. I have already used all the paper from that kit and have been using this stamp set on many cards since I just love that cake. 

I inked all the edges of the papers with desert sand ink and stamped the cake and sentiment in outdoor denim ink.


 For the final touches, I added a dot of stardust glitz (Z1313) for the flame and a birthday candle. 

There you have it. A fun card that is very easy to put together once you understand how to cut and score it. Try it today!

Tuesday, March 12, 2013

Make a Mini Album

I was at Scrapbook U Creates Carmel Retreat over the weekend. It was a great event. Monica and Veronica put on a very nice crop. I spent a couple hours working with croppers on this make and take-- a mini album using just 1 sheet of paper and a little scraps.


This is an easy little album to make and everyone seemed to have a lot of fun doing it.

Start with a 12x12 two sided piece of cardstock.  I used Buzz and Bumble.


Using a paper trimmer, cut off 4x4 squares from each corner.


Cut the 4x4 squares down to 3 1/2 x 3 1/2 squares.


Take a coordinated paper and cut two 3 1/2 x 3 1/2 squares. I used colonial white paper.  Ink the edges of all papers. Decorate one of the colonial white squares as the cover.


I used the stamp set in the Buzz and Bumble Workshop on the Go Scrapbook kit. The small flowers are stamped using sunset ink. The sentiment is in cocoa ink. I used a scrap of sunset paper to make the flower. I stamped in and cut it out, adding a little bling to the center.

Attach all the squares.


Add pictures and a note, fold up the edges, and tie with a string. I used the bakers twine hemp which is currently my favorite string.


That's all there is to it.  I will be doing this make and take again at Scrapbook Expo in Pleasanton this weekend. Come by the Close To My Heart booth and say hello.

Give this project a try and have some fun with paper today!

Monday, March 4, 2013

Honeycomb Card


I am always amazed at the use of hexagons in paper crafting these days. I love the hexagon and am happily embracing this trend.

On this card I used the Honeycomb stamp set (C1537) and just a little Buzz and Bumble paper (X7164B).

To make the honeycomb, I stamps a hexagon in the middle of the card in sunset ink then without re-inking stamped again (making a 2nd generation stamp). I did that 3 times. The outer hexagons are 3rd generation stamps. It make a nice effect.

Have fun with paper today!

Friday, March 1, 2013

Tri Fold Card

I am a bit late posting my latest project. This week I have been volunteering for my local elementary school at the library book fair. Plus with all the other volunteer work I do and of course taking care of my family, my  week had disappeared. It is all worth it. I love getting books into the hands of children.


I had a lot of fun teaching a group how to make a tri-fold card last weekend. If you haven't made one, you really should give it a try.


Getting the cuts and folds right seems intimidating but it really isn't. Here is my make shift guide.

Paper is cut at 5 1/2 x 12.  Then the paper is scored at 2 in, 4 in, 8 in, and 10 in. Now the tricky part. The paper is cut in the middle of the paper. Move your blade to the 2 inch mark 1 1/2 inch from the top of the paper. Cut from the 2 inch mark to the 10 inch mark. Turn the paper around and do it again.  Now there are 2 large cuts in the middle of the paper and 4 scored lines.

Next, the paper needs to be folded. A mountain fold goes up and the valley fold is down.


Here's the view from the top.

After the paper is cut and folded, the card is very simple to put together.


For the base, I used cocoa paper. The rest of the paper is from the Buzz and Bumble paper pack. The stamp set is from the Buzz and Bumble Workshop on the Go Scrapbook Kit. I used sunset and cocoa inks. The flower is popped up on 3-D foam tape with a few bitty sparkles at the center.

I hope you will give this technique a try and have fun with paper today!