Showing posts with label Cricut Artbooking Collection. Show all posts

Thursday, February 6, 2014

Teen Layouts Using Artbooking

I love the 10 Things key on the Artbooking cartridge. This video shows how to use it with ease and style.


And a picture of the layout:


You can find a lot of info on this video at Jeanettelynton.com. 

I have been thinking about different layouts I want to make using this 10 things button. 

10 places I want to visit
10 people who have influenced my life
10 things I will change this year
10 things I love about me
10 things that make my day
The Top 10 Things about our vacation
10 things I want to do with my kids before they go away to college

The list goes on and on. What list would you like to create?


Recipes  (click here to purchase items for this layout)
10 Things I Love Layout:
D1580 My Acrylix Catch You Later
D1555 My Acrylix All the Details
B1449 My Acrylix Scribble Banners
X7180B Balloon Ride Paper Packet
X7179B Ariana Paper Packet
X7177B Skylark Paper Packet
Z1935 Black & Grey Epoxy Bubbles
Colors used: Sorbet, Sweet Leaf, Juniper, Colonial White, Black, Slate, Bamboo

Giggles & Grins Layout:
Z1906 Cricut®Artbooking Collection
D1571 My Acrylix Sweet & Lovely
X7177B Skylark Paper Packet
X7180B Balloon Ride Paper Packet
Z3000 Skylark Assortment
Z1934 Flamingo Dots
Colors used: Outdoor Denim, White Daisy, Smoothie

Dream Card:
Z1906 Cricut®Artbooking Collection
B1439 My Acrylix Dreamer
X7183B Lollydoodle Paper Packet
Z1920 Gold Polka-Dot Washi Tape
Z1935 Black & Grey Epoxy Bubbles
Colors used: Sweet Leaf, Crème Brulee, Smoothie, Cocoa

Friday, January 17, 2014

Sarita Fun

 Had some fun playing with the Sarita Paper Pack at my workshop last week.


For this birthday card, I used the Cricut Artbooking Cartridge to make the cuts. All the cuts are done using the "happy" button which is described on page 86 of the Artbooking booklet. The stack of presents was cut at 8 inches. This card is a standard 4 1/4 by 5 1/2 card. But the Artbooking cartridge is set up to adjust to a scrapbook page. When I put in the size at 8 inches, the machine adjusted the stack to look right on an 8 inch scrapbook page.  So, I put in the Sarita paper. Set it at 8 inches, pressed "icon" and "happy," and cut. Do not remove the paper. Leaving the mat right there were the cut was made, I pressed the "flip" button. Size is the same at 8 inches. Then I pressed "icon," "shift," "happy," and cut. Since the Sarita paper is two sided, I was able to cut the stack of presents with one side of the paper and the layering on the presents with the other side. Pressing the flip button made things quicker and I knew it would match perfectly. 

The "birthday" is cut on Lagoon paper at 1 inch. But this time I pressed "REAL SIZE DIAL" on my Cricut. If I didn't, the machine would think I was making a tiny, little book and birthday would come out minuscule. 

After the cuts, I just quickly put the card together. I used colonial white value pack cards as a base and pieces of colonial white and outdoor denim as well as the Sarita orange. All of which come in the Sarita Paper Pack. As a final accent, I used a couple blue epoxy bubbles.


This is a quick card. I cut "Hello" in Outdoor Denim paper using the Cricut Artbooking Cartridge. This was cut at 1 inch using the "real size Dial" feature. The small background is Colonial white paper stamped in a second generation of lagoon ink using the Distressed Background stamp. Second generation stamping is when the stamp is inked and stamped on scratch paper before stamping on the cardstock. This technique gives it a softer look. The print in the back is Sarita. I added a little bakers twine and popped up the hello with a little 3-D foam


The edges of this card are sanded all the way around. I use a sanding block with a piece of chipboard under the paper to give it a little stability while I am sanding. The stamp is from the Casual Expressions set. The wood piece is from the Sarita Assortment. The wood pieces are not backed with an adhesive. Best to use something strong such as liquid glass to adhere the wood.  


Always find ways to use the scraps from your used paper. I cut a few hexagons out of scraps for this card. The edges are inked with Outdoor Denim ink which I think gives it a more finished look. The orange strip on the bottom is a piece of that extra strip that is cut from the 12x12 sheet when it comes out of the package (I always find something to do with those). And the last strip is washi tape! Love washi tape. It is so easy and so economical to use.  The stamp set is For A Friend.


Lastly, I have a gift box. This was cut with the Artiste Cartridge. This box was cut at 4 inches but will use an entire 12x12 piece of outdoor denim cardstock. This box is found on the "7" key which is described on page 37 of the Artiste booklet. 


The Sarita paper pack is a fun pack to play with. This pack is not one being discontinued at the end of the month, but will carry over into the next Idea Book. I am looking forward to playing with it a bit more.

Thursday, January 9, 2014

Mini Album with My Girl Scouts

Last weekend part of my Girl Scout troop was over for a sleepover. We had a great time. I have been a Leader for almost 20 years. In all that time, I think sleepovers have been the favorite event for all the different groups that I have led. A lot of food, movies, crafts, a little bit of work, and a whole lot of laughter. It is the perfect activity for teen age girls.

The girls are working on the Mission Sisterhood Journey which is one of the awards for Girl Scout Seniors. The girl leading this section of the book suggested that we make friendship albums and asked me to teach an album class. Well, I got out a ton of paper, the Cricut, stamps, inks, embellishments. They were shocked at how much I had. Every time one would wonder if something would be good on her page, I pulled it out and said try this. Our short activity ended up being three hours long. I was amazed at how beautiful the albums were. One of the girls did calligraphy in hers. WOW!

Here are a few pictures of my daughter's book. She isn't finished but it is a very nice start.


She cut the Frosted paper on the cricut using the Artbooking cartridge. We used 6x6 kraft cards as covers and then made the pages 5x5. The album is bound using binder rings (or book rings) that are found at any office supply store. By the way, these 6x6 kraft cards are on while supplies last for just $2 for a set of 6. ORDER NOW!


All the pictures are wallet sized so they fit easily in the mini album.


Cait loves the blues of this paper pack so it worked out really well. I think her favorite color to craft with is Twilight. She is always asking for that. 

I do love mini albums and am so happy to have taught a new generation this fun craft. In a couple of weeks I will be teaching other Girl Scout Leaders how to make mini albums with their girls. I will be taking this one with me as an example. 

Have fun with paper today!

Thursday, October 17, 2013

Fall Luminary


Ready for some fall decorations? This luminary, one of our Holiday Extravaganza projects,  is perfect for your fall centerpiece.

Use the Artbooking Cricut cartridge to cut the panels. I used Autumn Terracotta paper. I set the cricut machine for 5 inches, real size dial. Click the overlay button and "e" and you're set. You need 3 panels to create the round luminary or 4 panels for a square. 6 panels can fit on 1 12 x 12 piece of paper.

Take the edges of the left over paper and cut 3 (or 4 if making a square) 5 inch by 1/2 inch strips. These will be used as the seem to hold the panels together. If you are making a square, fold the strip lengthwise in order to make a crisp edge.

Use a good adhesive, such as liquid glass, to attach the panels together.

Decorate the panels with leaves. I used leaves cut with the Art Philosophy cartridge. The paper used was Huntington, barn red and New England ivy. The last decoration is the jute ribbon at the bottom.

Add a candle in the middle-- I used a Party Lite 3 inch pillar candle but any votive or tea light will work as well.  And you are ready. Make a few luminaries in different fall colors for a perfect centerpiece.


Tuesday, October 8, 2013

Artbooking Made Easy: Designing with a Flip Stand Album


Here's a quick video on the Flip Stand Album. I haven't tried this one yet. But after watching this video, it is going on my next order. I think I should make a couple Christmas gifts for the grandparents using this album.

This video also highlights the Artbooking Cricut Cartridge. Remember that the cuts using Artbooking are set to coordinate with the whole page. So if you want a 4 inch photo frame, be sure to click the real size dial button. Otherwise you will get a photo frame that coordinates with a 4 inch page.

Enjoy! And have fun with paper today!

Tuesday, September 17, 2013

Babycakes Layout


The Babycakes paper is so cute. I just couldn't wait to do something with it. But my kids are all teens. No babies around here anymore. Luckily, my nephew is now a daddy, giving me a grand nephew. I love this picture of him and was very excited to showcase it using the Babycakes paper.


I used the Artbooking cartridge to cut an overlay and the "baby boy" title. As a quick accent, I used the Chantilly Textiles.

Now I think I'll make a few cards with this paper. I must have some occasion for a baby card soon.

It's your turn. Find an excuse to use that paper you love. Have fun with paper today.

Sunday, September 15, 2013

Having Fun With the Cricut


I have led a couple of classes on Cricut basics in the last few weeks. During these workshops, everyone gets a chance to make three projects, cutting out each piece themselves and thereby truly learning the Cricut. I hear about far too many people who say they have a Cricut but it sits in the box since they can't figure out how to work it. That is a shame. The Cricut can really make paper crafting easy if you learn to use the machine.

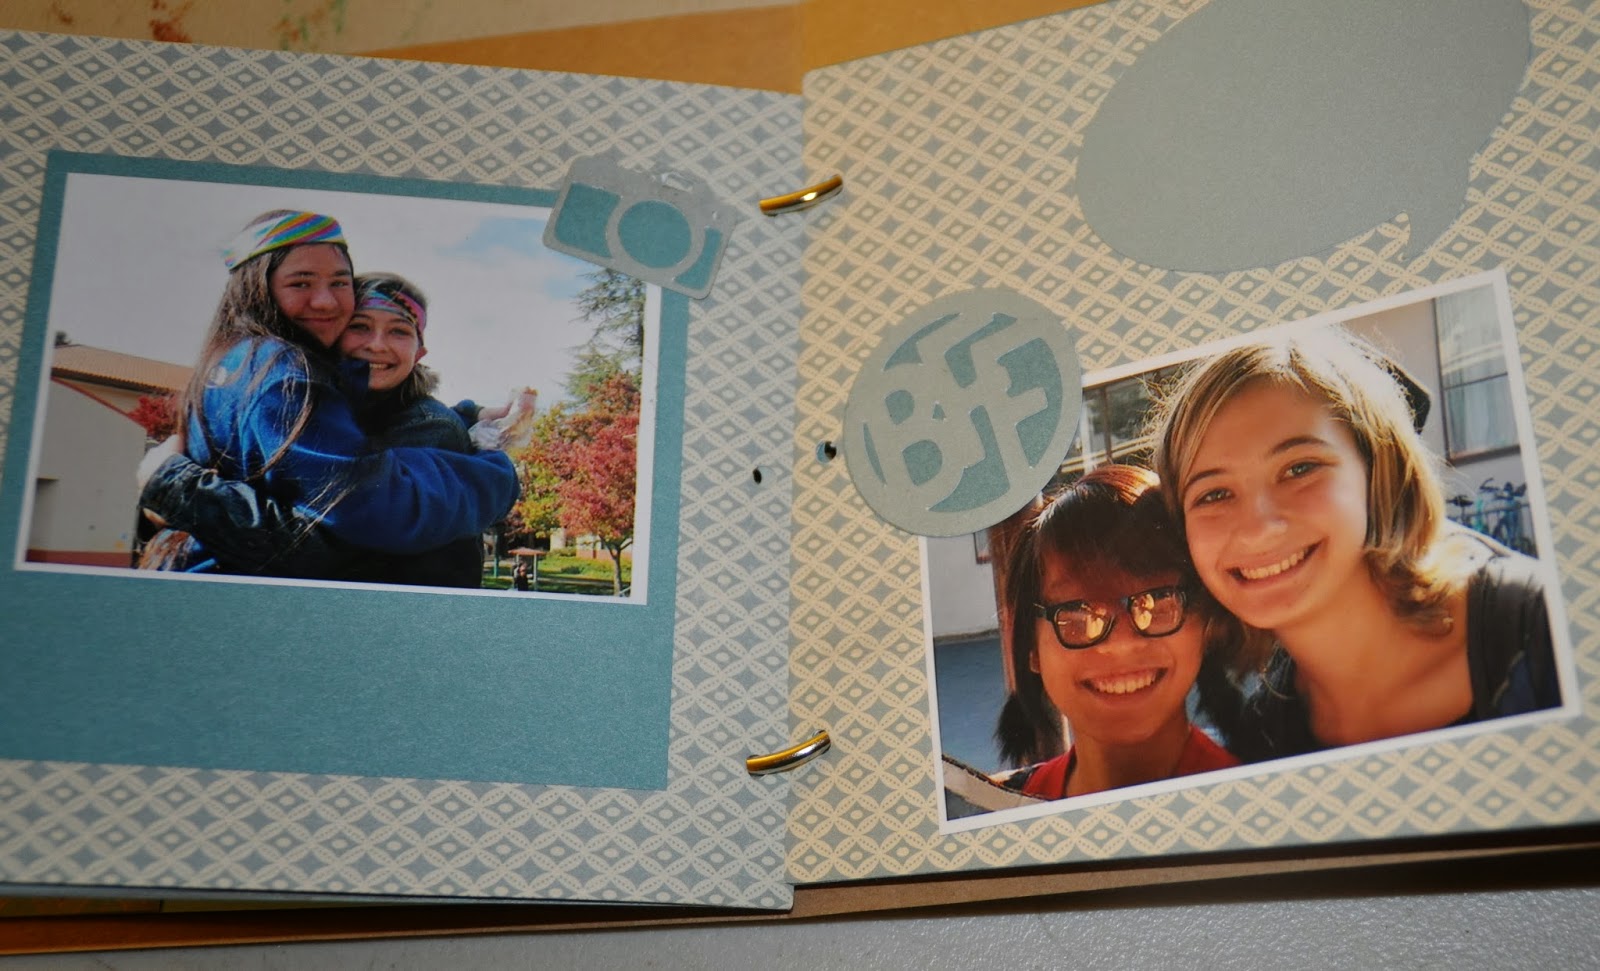
The first project using the Artbooking cartridge is above. The Artbooking cartridge is set up to help the paper crafter make scrapbook pages easy. Page 86 of the Artbooking booklet is set up for a 12 x 12 birthday page.


I want to use that stack of presents on a 4 1/4 x 5 1/2 card. I can simply set the Cricut on 4 inches with real size dial. But since I also want to use flip and layer the presents, I decided to not use the real size dial. I set the machine on 8 inches and used Sarita paper. (Setting it on 8 inches will coordinate the stack to properly fit an 8 inch scrapbook page. If I wanted an actual 8 inch piece, I would press the real size dial button.)  Press "icon" and the "happy" button. Then I have a nice set of presents. Without taking the paper out of the Cricut, I turned on the "flip" button to get the mirror image. Press "icon," "shift," and "happy" and cut the paper. The paper is removed and the present stack is perfect.

Next, I used lagoon paper. I set the Cricut at 4 inches, clicked  "real size dial," "photo mat 2," and "little toes," and then cut. This photo mat was on page 85 of the booklet. A 1 1/4 inch circle was cut from colonial white paper.

Add another piece of Sarita paper, the Perfect Fit- Birthday Stamp set, Lagoon ink, and a little glitz and the card is set.


Our project using the Artiste cartridge, was this box. I love the Huntington paper. Of course, I do love fall colors so this is perfect for me.

I set the Cricut up with the Artiste cartridge. This project does need a 12 x 10 piece of paper so a big machine is needed. A Create machine will be too small.  I used a piece of Huntington paper. I set the machine at 4 inches. Using page 37 of the Artiste booklet as a guide, I clicked on  "3-D Object" and "7."  I changed the paper to Colonial White. The size is 3 inches. I clicked on "accent 3" and "7" to cut the tag.  Quick, easy cuts.

I decorated the box using the You Are My Happy stamp set. This is the National Stamping Month special set and only available this month. I also used Jute Ribbon, hemp bakers twine, and a wooden shape.


My final project uses the Art Philosophy cartridge.

I made this one on a Cricut Create machine which can only take 6 x 12 paper at a maximum. Using Cocoa paper, I set the size at 5 1/4 inches. I opened page 35 of the Art Philosophy booklet as a guide, and I clicked "card" and "rectangle 5." It cut a very nice card base. I also cut leaves at 1 1/2 inches from barn red and huntington paper. Click on "shift" and "leaf2." Using New England Ivy paper click on "shift" and "leaf 4." I added a little burlap ribbon and the outside was all done.


Inside the card, I used the September stamp of the month. I only used part of this stamp, masking out the bottom to fit the card. I then used a little liquid glass on the word "FALL" as a highlight. I also used liquid glass to glue the burlap down. Liquid glass is a strong adhesive that is great for ribbon.

Again, the card was quick and easy. Using the CTMH Cricut cartridges always makes paper crafting easy.  Each cartridge has a different strength:

     Artbooking-- Scrapbook pages and mini albums
     Artiste-- 3-D Objects
     Art Philosophy-- basic shapes and patterns used in card making

But all three can be used with all aspects of paper crafting. I have made cards from all three, scrapbook pages from all three, and 3-D objects from all three. Each one is amazing! With over 700 images each, I never need to go to any other cartridge. My paper crafting looks more professional when using the cartridges and I spend less time fighting with my paper to make an object look right. I really love my Cricut and the CTMH cartridges.  They make my playtime with paper even more fun.


Thursday, September 12, 2013

Making a Luminary Using the Artbooking Cartridge


When I saw a sample luminary in the Idea Book, I knew I had to make one. Take a look at page 17 of the Idea Book and see what I mean. Well, I love candles. I love leaves and the whole Fall season. I couldn't wait to try this out.

With Autumn Terracotta paper, I used the Artbooking cartridge. I set the cricut on 5 inches, real size dial. Make sure you set the real size dial! Press "overlay" and the "e" button. This is on page 50 of the Artbooking booklet. Cut out 4. A 12 x 12 sheet is big enough for 6 cuts (just in case you were interested in making multiples).

I then cut out 4 strips of paper, 5 x 1/2 inch and scored it in the middle long ways.  Attaching the pieces together took a little bit of patience and sticky fingers. I used Liquid Glass for a stronger hold. But I ended up with liquid glass all over my fingers as well as my project.

To decorate it, I cut out leaves from the Art Philosophy cartridge and added some jute ribbon at the bottom.

This will be one of the projects we will be making at the Holiday Extravaganza on October 12 in Sunnyvale. There is still time to register. Please contact me at cathryno@gmail.com if you would like more information.

Monday, September 9, 2013

Cricut Collections From Close To My Heart


Wondering which Cricut cartridge is right for you? Here's the video to help you decide.

Of course I think all three are amazing and need them all. I don't think I've used another cartridge in over a year. There are so many images and ideas on these cartridges. There really is no reason to go to another cartridge.

Take a closer look here.

Tuesday, September 3, 2013

Artbooking Made Easy


The Artbooking Cartridge is amazing! This video gives a great over view of the cartridge and shows some fun projects for your inspiration.

To purchase the Artbooking Cricut Collection, click here.

Thursday, August 29, 2013

Fall Cards

I am loving the Artbooking cricut cartridge! I made two cards this past weekend for my fall card workshop featuring cuts made with this cartridge.


I just love this cat. When I saw the stamp set, I knew I had to have it. Then when I saw it coordinated with the Artbooking cartridge, I was in heaven!


This is the Eek & Shriek set. Just $9.95 and perfect for your Halloween cards and layouts. 

The cat is the only stamping on this project. The patterned paper in the background is Laughing Lola. Other paper is goldrush and slate. I added some bitty sparkles to the cats eyes. The cat is stamped in black ink. I also sponged the fence with a little black ink to give it some dimension. Don't ink it up too much or you will lose the fence in the background.  Lastly, I used 3-D foam tape on the cat. 


This Thanksgiving card also features cuts from the Artbooking cartridge. I am a sucker for leaves. I don't know why, but fall leaves make me so happy. Maybe since I live in the Bay Area and never really have to rake leaves, I don't get sick of them. I do tend to do a lot of projects with fall leaves on them this time of year. 

The paper is Huntington with goldrush and barn red. I also used a strip of bronze shimmer trim. The stamp set is Holiday Tags which I think is a must for any card maker. The shapes of the tags on this set match up with the Artiste Cricut Collection

These are just two of the cards which will be featured at my Fall Card Workshop on September 20 at 7:00. I have two more spots available. If you can't make it, you may want to host a workshop. I will bring the card kits to you and your friends. 

Have fun with paper today!

Monday, August 12, 2013

Christmas Layout Using Artbooking


This beautiful layout was created by fellow consultant, Mary Wood, using the Artbooking Cricut cartridge. It is amazing what this cartridge can do with its over 700 cuts. The Frosted paper is cut at 11 inches-- including the photo mats and title. The cartridge automatically scales everything to the perfect size for that page. To make this layout for a 6x6 album, set the size for 6 inches and not worry about it. All will be the same as above, just smaller. But you need to be careful if you are making individual elements. Cutting an 11 inch photo mat, would mean turning on the real size function on your Cricut.

Your scrapbooking pages will be brought to a new level with Artbooking. And it is so quick and easy!

Sunday, August 11, 2013

Another Great Expo!

The Santa Clara Expo is now in the books. I had a great time. A few years back when I started my Close To My Heart business, Expo scared me. I stood in the corner of the booth wondering what I should do. At this Expo, I was so excited to see so many people I knew. I was greeting people, talking about projects, laughing with other vendors. At the end of the day, I was tired-- really tired-- but really happy too. I was wonderful to see all my friends and customers. I enjoy my Close To My Heart business. I get to play with paper and ink and visit with so many friends. Expo is just one part of it.

Our booth had three great make and takes over the two days of Expo.


For my make and take, we made a 4 1/4 square card.  I cut the goldrush paper using the new Artbooking cricut cartridge at 4 1/4 inches. The strips of paper under the overlay is the Sarita paper and I used the All In the Details stamp set. The flower accent is an acrylic flower from the Base and Bling Teal Jewels set.  Other items used are outdoor denim and colonial white paper and cotton candy and lagoon inks. This card was really quite easy to put together. The part that took the longest was cutting the overlay. The Cricut takes a few minutes to cut out such intricate cuts. Make sure that you have a sharp blade and turn your speed down to the slowest setting when cutting something like this. 


This gift tag was Mary Wood's  make and take. She used the Cricut Artiste Cartridge to cut out this tag out of the new Frosted paper pack. The stamp set is the Perfect Fit- holidays and the accent is a small flourish.


Jeanette Matthews made a fun treat card for her make and take. This uses the Pro Player paper pack and the stamp set in the ProPlyer Scrapbooking kit. Jeanette added a treat cup with a pull tab to reach those treats without destroying the card.  This is the card opened. 


Such a fun card. I will be trying this with a card soon.

All in all, Expo was a great success. I wish I had the energy to attend the crop last night but I really just needed to go home, see my kids, and go to bed. Today, I am up and ready to play with paper.

Saturday, July 27, 2013

The Artbooking Cricut Collection

Close To My Heart and Cricut have done it again. They have teamed up to create an amazing new Cricut Cartridge with stamps to coordinate. With the new Artbooking Collection, you can make themed layouts, mini albums, and fabulous cards.


I made this card quickly using the Artbooking Cartridge. The paper is from the new ProPlayer Paper pack and a strip of glitter paper. All will be available on August 1.


The Cricut Artbooking Collection is just $99. If you order through me by August 15, you can save $10. If you order online at cathryn.ctmh.com, be sure to email me to request a rebate. Or just give me a call or send me an email and I will order for you adding in the discount.


I just love my two other CTMH Cricut collections. With Artbooking in my hands for just 4 days, I know I will love it as well. I have been drooling over the book and need to make more time to play with it.

I hope you are making time to play with paper today!

Monday, July 22, 2013

Another Pajama Party Coming Soon


Close To My Heart is teaming up with Big Picture Classes again to bring you a live webcast with step-by-step instructions for making this layout using the Cricut® Artbooking collection. Purchase the collection beginning August 1, 2013 and revolutionize the way you scrapbook!
The FREE webcast will air Wednesday, July 31 at 7:00 pm (MDT). During the presentation, you’ll learn to make several projects from a variety of sponsors, including Close To My Heart’s Artbooking layout, as CTMH's very own Kristine Widtfeldt walks you through the steps—and sneaks the Artbooking collection!

The Pajama Party class will be available for FREE at BigPictureClasses.com on July 31, and will be archived after the event for future viewing. If you would like to interact on the message board, participate in live chat, post to the gallery, download handouts, or enter any contests, you will need to log in to the Pajama Party “classroom” by creating a free account on the Big Picture Classes website. If you have already created an account or if you registered for the first Pajama Party in May, you are all set! You will not need to create another account or register again.

The Cricut Artbooking Collection will be available on August 1. I am offering it at $10 off the price of $99 through August 10. Please email or call me ASAP with your order. Also, if you would like a new Idea Book, please let me know.