
Are you ready to get a lot of cards made at once? Let me show you how to put together 16 cards using just a few sheets of paper.
Start with 3 sheets of paper. A two sided piece of pattern paper and two pieces of coordinating cardstock. I used the Skylark paper pack-- Skylark paper, lagoon, and colonial white. You will also need 16 card bases. Instead of cutting your own, use the colonial white value pack.
Now it is time to cut!

Very important to pay attention to the dimensions. I start with a cut straight down at 5 1/2 inches. Set up eight piles on your table. Put all the 1's together, all the 2's, and so on.

I used lagoon for my dark cardstock. Again my first cut was down the page at the 5 1/2 inches mark.
One thing that I noticed using this template several times-- if I didn't cut it exactly as directed, I was able to make it work. I just changed the card slightly and everything looked great. It really isn't an exact science.
Now we are ready to put it all together. I used 4 stamp sets:
Love Life
Joyful Birthday
Big Hug
Funky Blossom
You can use any stamp sets that you have on hand. You need a few sentiments and a few icons.
Besides the paper, card bases, and ink, I also used Lagoon Ink, a sponge, and 3-D foam tape.
Time for the cards!

Patterned paper (PP) 2" x 5 1/2", 1/4" x 5 1/2"
Dark Cardstock (D) 2 1/2" x 5 1/2"
Light Cardstock (L) 2' x 1 1/4"
Tear the larger piece of patterned paper. Use the sponge to ink all the edges. Of course, inking edges is a personal choice. Some people hate it. Some love it. For me, it depends on my mood.
Each card will be made twice. I turned the Skylark paper over and then changed the stamp used so that I ended up with 2 different cards for each.

PP 5 1/4" x 2, 4 1/4" x1 1/4"
D 5 1/4" x 2, 4 1/4" x1 1/4"
L 3 1/2" x 2"
I think this is my favorite of the pack. I do tend to like a lot of paper so the card with the most paper will of course be my favorite.

Card 3
PP 5 1/2" x 1 1/2"
D 5 1/2" x 1/2", 2 3/4" x 2"
L 2 1/4" x 1 1/2"

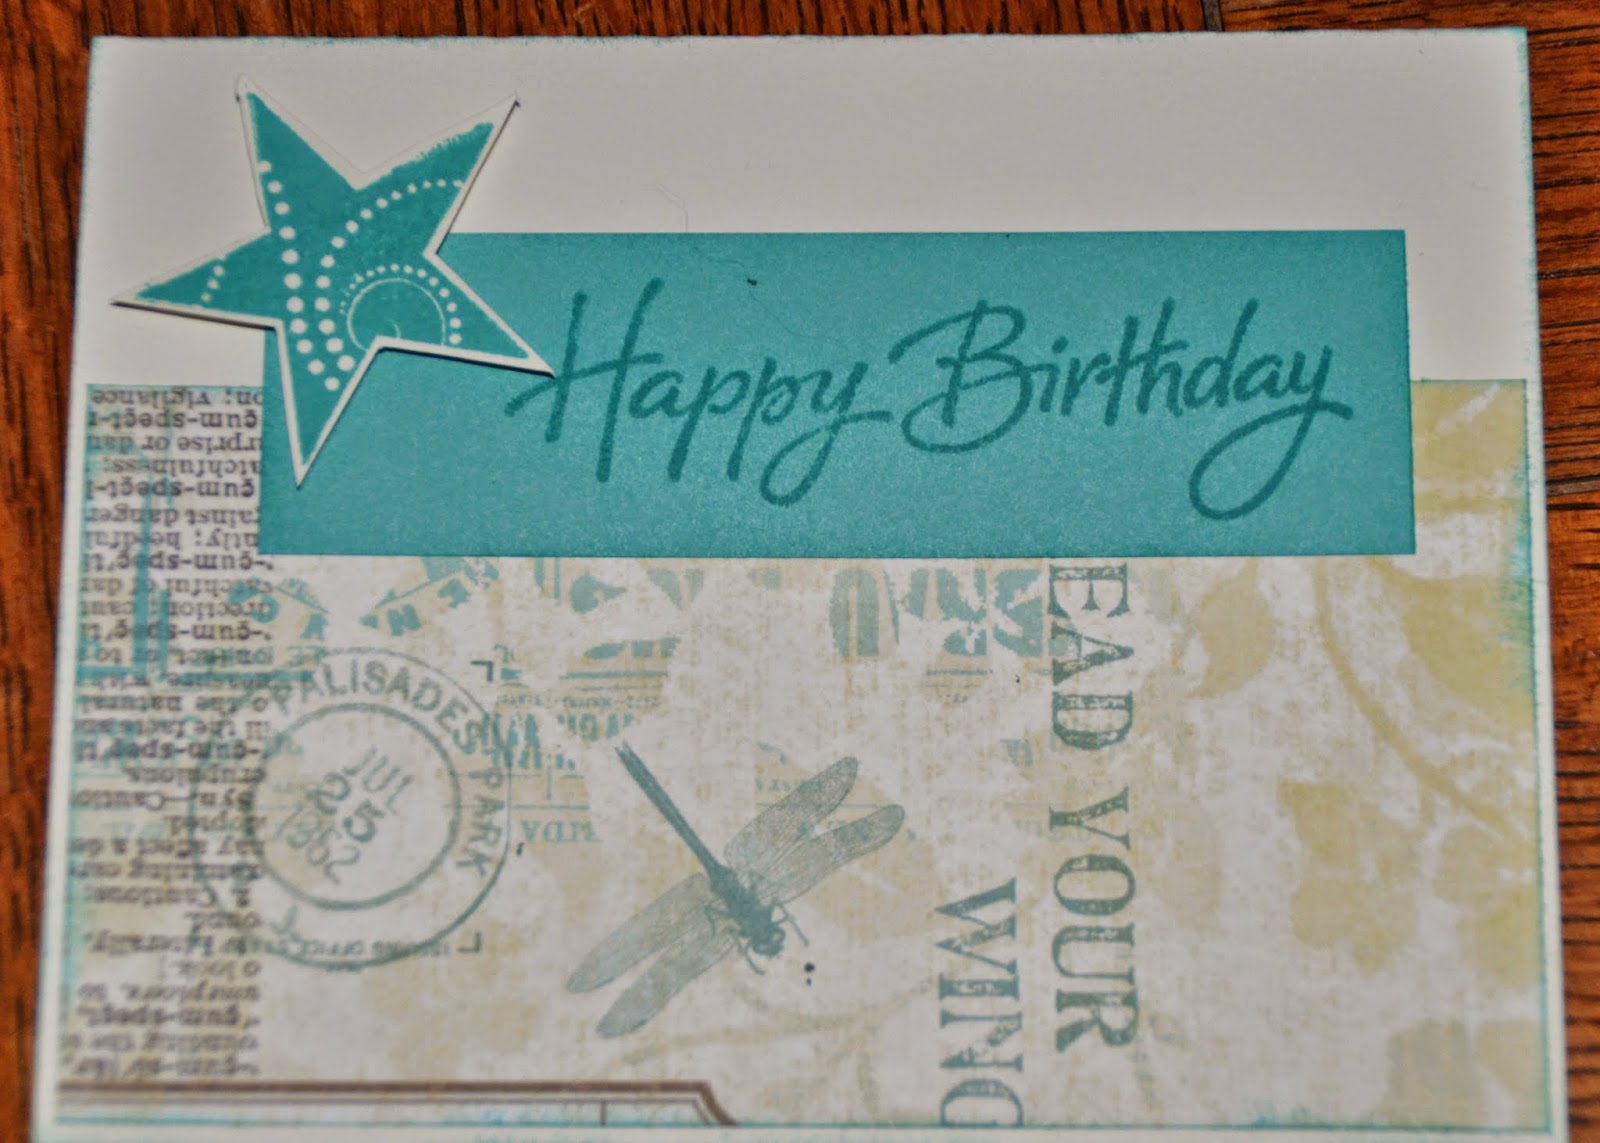
Card 4
PP 1" x 5 1/2"
D 1/2" x 5 1/2", 2" x 2"
Here is where you will use the extra light colored cardstock to create an embellishment. Or you can always use something out of your stash.
I stamped the star, cut it out, and used 3-D foam tape to pop it up.
Card 5
PP 2 1/4" x 5 1/4" (note that this page doesn't go all the way to the edge of the card)
D 1 1/4" x 4 1/4"
And add another embellishment

Card 6
PP 1/2" x 4 1/4"
D 3" x 2 3/4"
Embellishment

Card 7
PP 2" x 4 1/4"
D 3 1/2" x 2 1/4", 1/4" x 4 1/4"
L 2 3/4" x 1 3/4"

Card 8
PP 2 1/2" x 1 1/4" (this stripe looks like a different piece but it is the little stripe on the Skylark paper-- it just happened to be that little piece)
D 2" x 1 1/4"
L 1/2" x 5 1/2" (Since this is a Colonial White strip on a Colonial White card base, I sponged it with a little lagoon ink and then put a pattern on it.
Embellishment
You can always add more accents -- a little bling here and some shimmer trim there. Maybe a ribbon or two.
This program is from the Wishes Card Confidence Program. It takes a few minutes to figure out the cuts, but after doing it once, you will be able to pick it up again quickly. You can use any paper and any set of stamps. Give it a try and have some fun with paper today!