Monday, October 27, 2014

More Artfully Sent Tips

The "Sleeve" Function key on the Artfully Sent Cricut Cartridge gives you so many options!


This Trick or Treat card was cut at 5 1/2 inches on black paper. Click "sleeve", shift, (page 43 of the Artfully Sent booklet). This cut gives you the spider web card base.  Then I used thistle paper at 4 1/2 inches - "sentiment" and . The Trick or Treat was cut as a card since the "sentiment" function is another set of cards. I cut it down with my paper trimmer to make it into a title and used the other part of the card base as a layer. I added a little glitter paper in the center, backed the title in black, and finally added a third layer to the title with the extra thistle paper. The spider was cut at 5 1/2 inches, "icon," shift, from slate paper. Remember that the pop up and icon functions are linked. So, cutting the spider at 5 1/2 inches did not give me a 5 1/2 inch spider. It gave me a spider sized perfectly for a 5 1/2 inch card. If you have a specific size you want, be sure to click the real dial size button.

So the cuts are made quickly and easily. I just put it all together. I backed the card base with a piece from the Scaredy Cat paper pack and all came out perfect. I was really happy with the results. It really is quick (and I like quick!). The hardest part is waiting for the cricut machine to finish cutting the spider web.

Be sure to check out the Artfully Sent Cricut Collection and all the wonderful projects it has to offer. You are going to love it!


Monday, October 20, 2014

Artfully Sent Cricut Cartridge

I am having fun playing with the Artfully Sent Cricut Cartridge. There are so many different projects on this cartridge! With over 700 cuts which come together to make over 400 projects.

Take a look at this pop up card:


There are 6 different function keys on this cartridge. I used the pop up key.


The size was set at 5 inches for both the card and the liner. The cartridge is set to go together without changing the size. The daisy white cardstock (a pack of which comes with the cartridge) was cut using the pop up function and "env 11" key (page 47 of the cartridge booklet). The liner was cut from glacier paper the same way but with the shift button pressed. One thing that I noticed with this cartridge is that although it does make little tick marks to help you fold properly, it really needs to be scored. Make sure your creases are very crisp especially the pop up portion. 

The card is decorated using snowhaven paper and silver geometric washi tape. The stamp sets are the October stamp of the month and the Best Christmas Stamp set

The second function key is the Scene key. 


I cut this card at 5 1/2 inches. The recommended size listed in the booklet is 7 inches. But you can change the size. I prefer a smaller size card. 5x7 is just too big for me. This one is 5 1/2 by 4 1/4 and it is just perfect. 

To cut this, take a look at page 34 of the booklet. Size is 5 1/2 inches. Press scene then "v" and cut. The wreath is also cut at 5 1/2 inches. Press scene, shift, "v" and cut. 

When you are working with a paper that is two sided on the scene function, the inner part of the card needs to be face up on the cricut mat in order to get the cut on the right side. 

The inside of the card was just hand cut and the flowers were cut from the Artiste cartridge. I loved how the shape matched the paper. 

I used Pathfinding paper to cut this card. The wreath is cut in chocolate and the flowers in glacier. I really love the glacier color and seem to be using it a lot. the stamp set is Casual Expressions, and the ink is chocolate. 

I'll post more about the cartridge later. In the mean time, have some fun with paper. 


Tuesday, October 14, 2014

Halloween Popped Card

I love fall. I love the fall colors and leaves. I really love the pumpkin patch. But Halloween to me is just a stressful day to get my kids in some sort of costume. As a mom, I should  love Halloween! I should love going to the carnivals and trick or treating. Unfortunately, I don't. I don't want to be scared. I worry far too much about the day to day stuff to want to be scared when a ghost pops out at me in a haunted house. 

That being said, I do try to be the "good" mom and celebrate Halloween. I would NEVER be the house without the candy (although I do have to admit that I usually have pretzel or goldfish packets in the bowl too and let the kids choose). We always decorate the porch. And I try to get my kids to wear a costume. Now that they are teens, it just isn't cool to wear a costume. 

Sending out a card for Halloween is not something I usually do. With my oldest away at college as are several of my nieces, I try to send out cards to them on a regular basis. A Halloween card this month seems to be the right choice. 

Here is one of my fun Halloween cards:


Nothing scary here. Just really cute. Look at that ghost! He is one happy ghost! 

The front of the card is very simple using a little paper and some stamps.


Inside, I used our adhesive spring and made that ghost pop up. 

Simple, quick, and best of all-- FUN!

Products used:


Saturday, September 20, 2014

Easy Card Making With Artfully Sent


The Artfully Sent Cricut Cartridge makes card making so easy! 

To make this card, I loaded the cricut with a sheet of Seaside paper. I set the size to 7 inches, clicked the "scene" and the "c" button, and cut. Next, I loaded the cricut with desert sand paper. Since the scene button is connected, I didn't change the size. I kept the "scene" button on and clicked "shift" "c". Then I cut. Both pieces were cut to perfect size to work together. I put a little piece of sunset paper under the congrats to give it a pop of color.  


I used a little colonial white and sunset for the flowers. The icon button is connected to the pop-up button. If I set the size as 7, the flowers would be perfect for the pop up card but I wasn't sure if it would work for the scene card. And they were too small. I ended up setting the size as 10 which worked out perfectly.

The final touch was the putting some gold Bling Gems in the center of the flowers.

Artfully Sent is an amazing cartridge. Perfect for the card maker. Many of the projects can be transferred to a scrapbook page or home decor. There are over 400 projects. With all the mixing and matching that can be done, I really see no end to this cartridge.

One note about sizing. The booklet lists a size for each project. This is the best size for the project but you can make it bigger or smaller if you wish. Some of the fancy cuts don't work too well when cut on a small setting.

I'm sure you will enjoy this cartridge.


Thursday, September 11, 2014

Getting Ready for Thanksgiving

Yes, I did write Thanksgiving in my post title. I do hate planning the holidays so early but in my business, you really have to. I am even working on Christmas cards for classes already!

Now to get back to my topic-- I am getting ready for Thanksgiving. My assignment as part of the Holiday Extravaganza is Thanksgiving. I am designing one card and one other. I love Thanksgiving! I just love the fall colors and love making my turkeys (yes, that is plural. I cook two every year). My brothers and their families, my parents, my aunt and uncle, and many guests squeeze into my house for Thanksgiving dinner. We take everything out of the craft room and add tables. As the kids get bigger, we are going to run out of room! Because I love Thanksgiving so much, I am very happy to be the one to take care of the Thanksgiving projects.

My first project is a card.


I used the Happy Autumn Stamp set to make this water color card. I stamped on colonial white paper using autumn terracotta, olive, and glacier inks. Then I spritzed the paper with water using a spray pen. The ink begins to run when it gets too wet. When I had the look I wanted, I used a heat gun to dry the paper. I stamped the sentiment on the card after the paper was dry. Next I mounted the paper on the chocolate paper, then the card base, and added a little bakers twine.  I find that it is best to put a book on top of the card after to make sure it stays flat. The paper tends to curl a little after being wet and dried.

This is an easy technique to learn. I will be teaching it at our Holiday Extravaganza on October 11 in Sunnyvale. This is an all day event where you will create 12 projects including this one above. There are four other consultants besides me at this event. So, you end up with five artistic styles. It is a fast paced, fun event that we put on yearly. It is just about sold out at this point. So don't delay. Check out my events page for the registration form.

I will be posting my second project and Thanksgiving mini album next week.

Have fun with paper today!

Tuesday, September 2, 2014

Birthday Card Using Confetti Paper


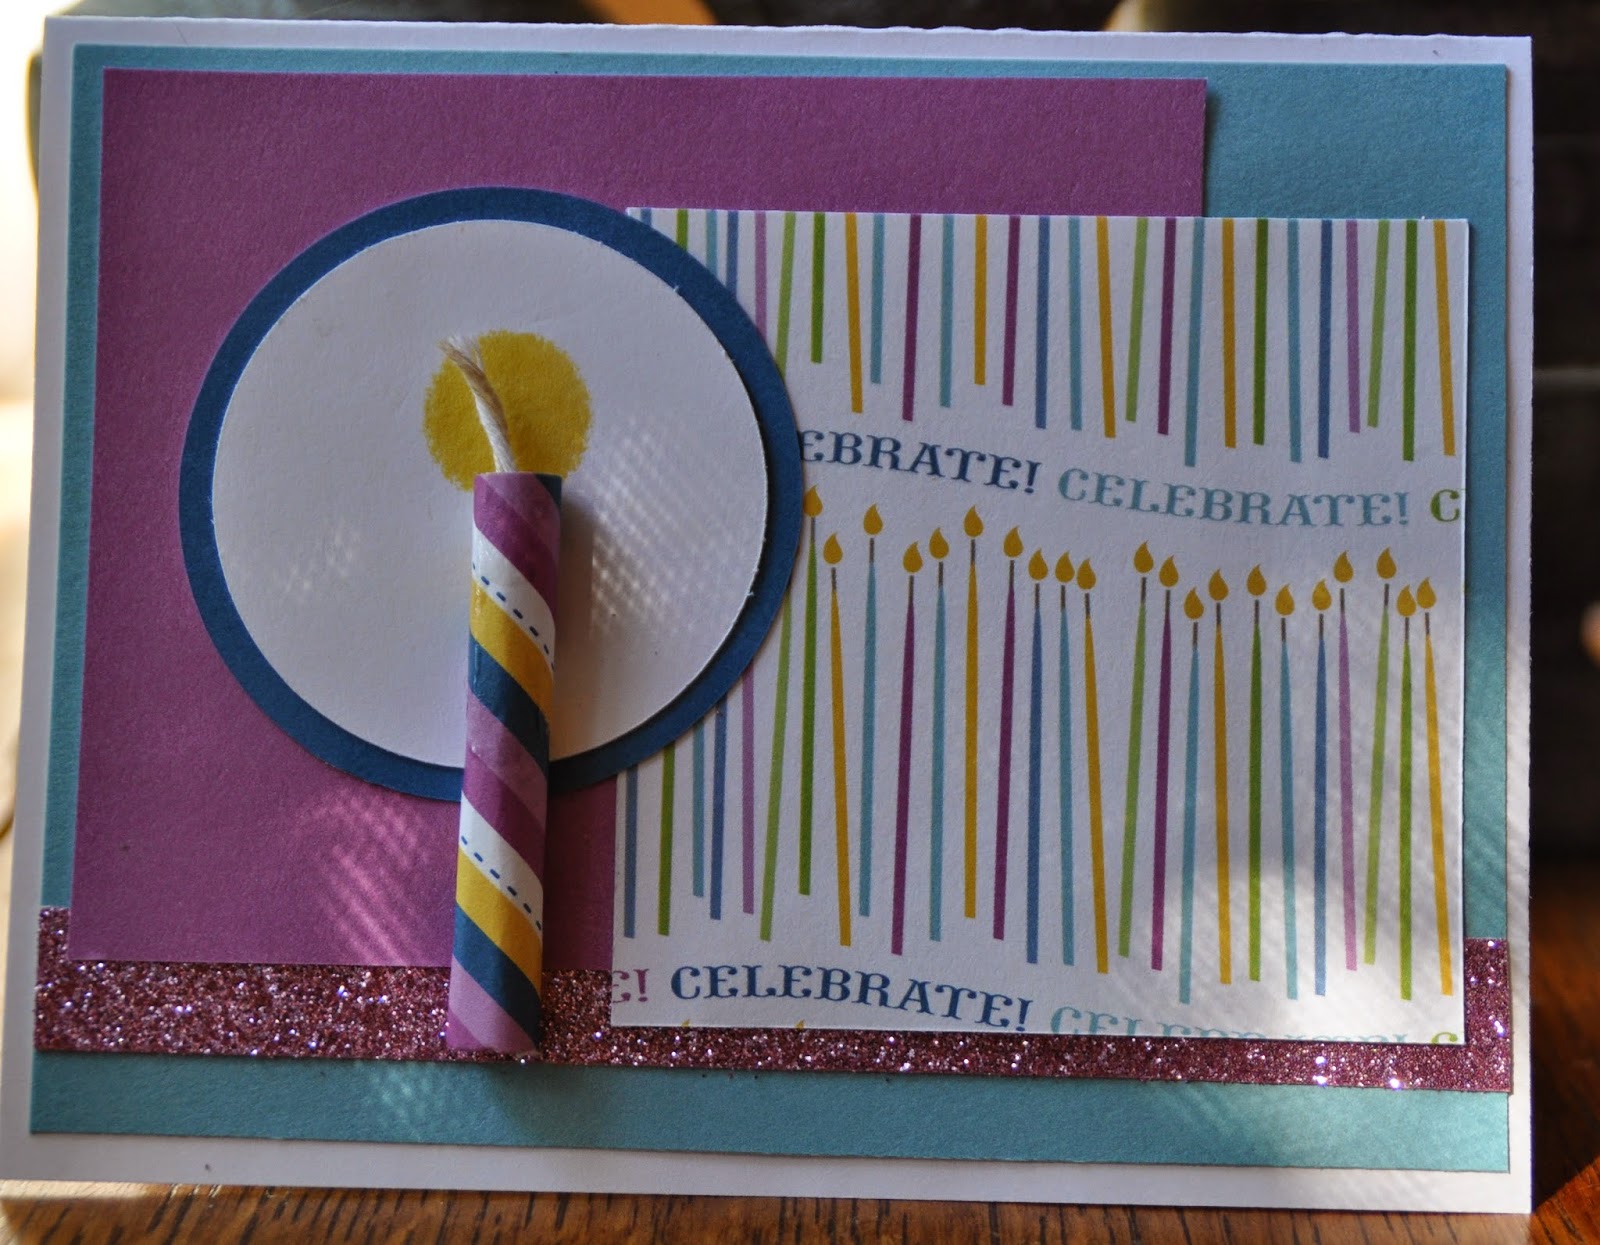
While playing with my paper yesterday, I took a look at the latest sketch on Mojo Monday.  I found this week's sketch:


These sketches are supposed to inspire your creativity. It sure did for me yesterday. I had some Confetti paper out and came up with this:


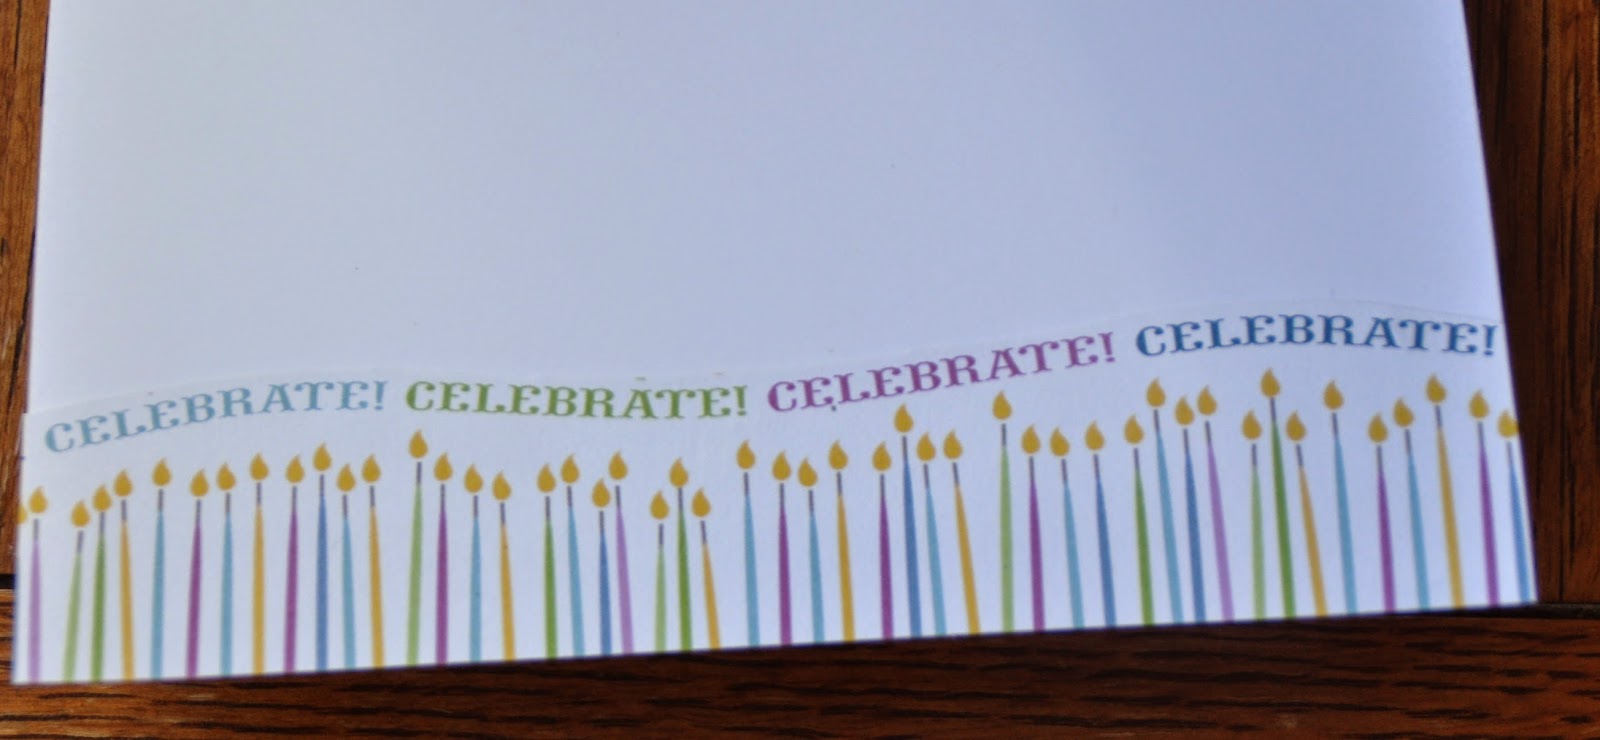
I made the candle by rolling up a scrap of paper. The wick is a small piece of bakers twine. Inside the card, I used a little more paper:


Adding the strip of paper inside seemed to complete the card.

I liked this card so much that I decided to add it to my Confetti Card Workshop this week.

Products used:

Confetti Wishes Paper Pack
Purple Glitter Paper


This card is part of my Confetti Card Workshop. Just $15 for 4 cards and 1 3-D object. If you can't make the class, I can mail you the kit at no extra charge. Just let me know if you are interested.

Hope you have fun with paper today!


Friday, August 29, 2014

Artbooking Made Easy: Fun in the Sun


Are you ready to scrapbook some of those beach pictures? Here is a great video to give you a few ideas.

Artbooking is an amazing Cricut cartridge. A must have for all scrapbookers. Come to my beginning Cricut workshop next week (September 6) and learn the basic ins and outs of the Cricut and the Artbooking cartridge.