Yes, I did write Thanksgiving in my post title. I do hate planning the holidays so early but in my business, you really have to. I am even working on Christmas cards for classes already!
Now to get back to my topic-- I am getting ready for Thanksgiving. My assignment as part of the Holiday Extravaganza is Thanksgiving. I am designing one card and one other. I love Thanksgiving! I just love the fall colors and love making my turkeys (yes, that is plural. I cook two every year). My brothers and their families, my parents, my aunt and uncle, and many guests squeeze into my house for Thanksgiving dinner. We take everything out of the craft room and add tables. As the kids get bigger, we are going to run out of room! Because I love Thanksgiving so much, I am very happy to be the one to take care of the Thanksgiving projects.
My first project is a card.
I used the Happy Autumn Stamp set to make this water color card. I stamped on colonial white paper using autumn terracotta, olive, and glacier inks. Then I spritzed the paper with water using a spray pen. The ink begins to run when it gets too wet. When I had the look I wanted, I used a heat gun to dry the paper. I stamped the sentiment on the card after the paper was dry. Next I mounted the paper on the chocolate paper, then the card base, and added a little bakers twine. I find that it is best to put a book on top of the card after to make sure it stays flat. The paper tends to curl a little after being wet and dried.
This is an easy technique to learn. I will be teaching it at our Holiday Extravaganza on October 11 in Sunnyvale. This is an all day event where you will create 12 projects including this one above. There are four other consultants besides me at this event. So, you end up with five artistic styles. It is a fast paced, fun event that we put on yearly. It is just about sold out at this point. So don't delay. Check out my events page for the registration form.
I will be posting my second project and Thanksgiving mini album next week.
Have fun with paper today!
Thursday, September 11, 2014
Tuesday, September 2, 2014
Birthday Card Using Confetti Paper
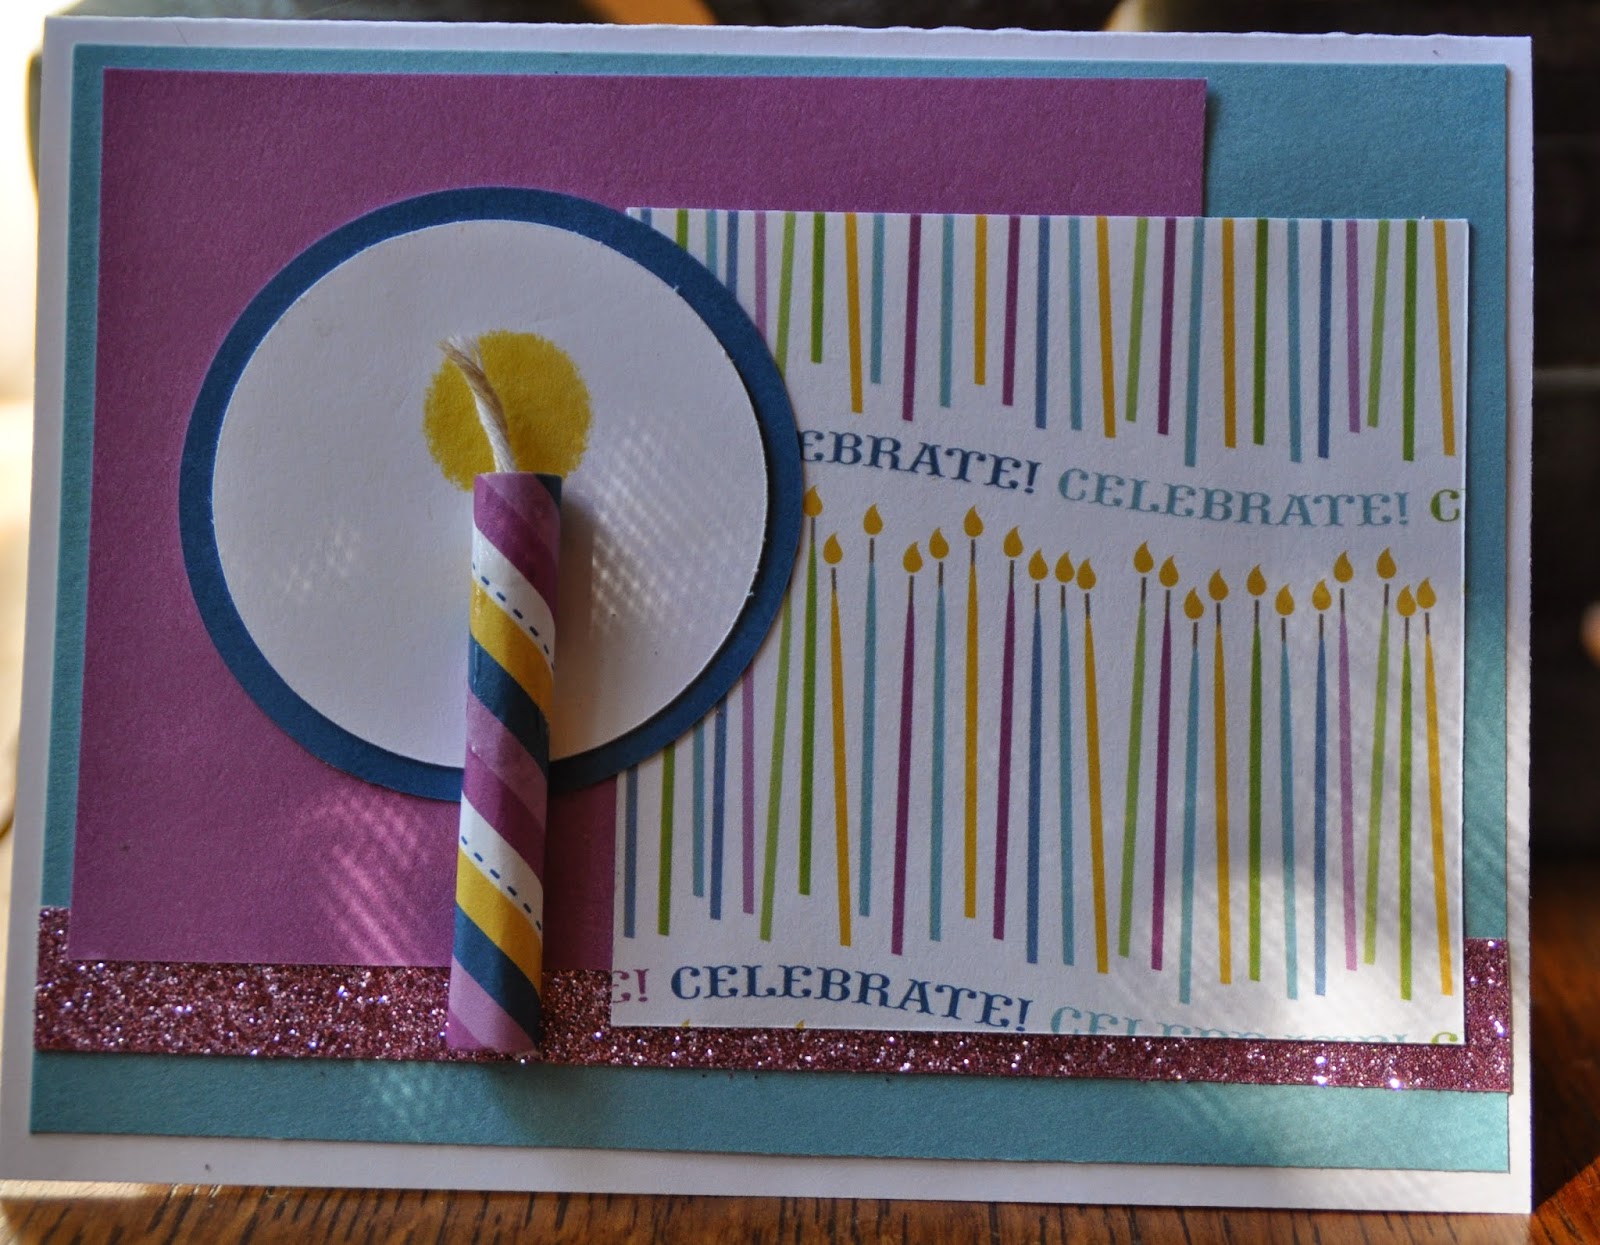
These sketches are supposed to inspire your creativity. It sure did for me yesterday. I had some Confetti paper out and came up with this:
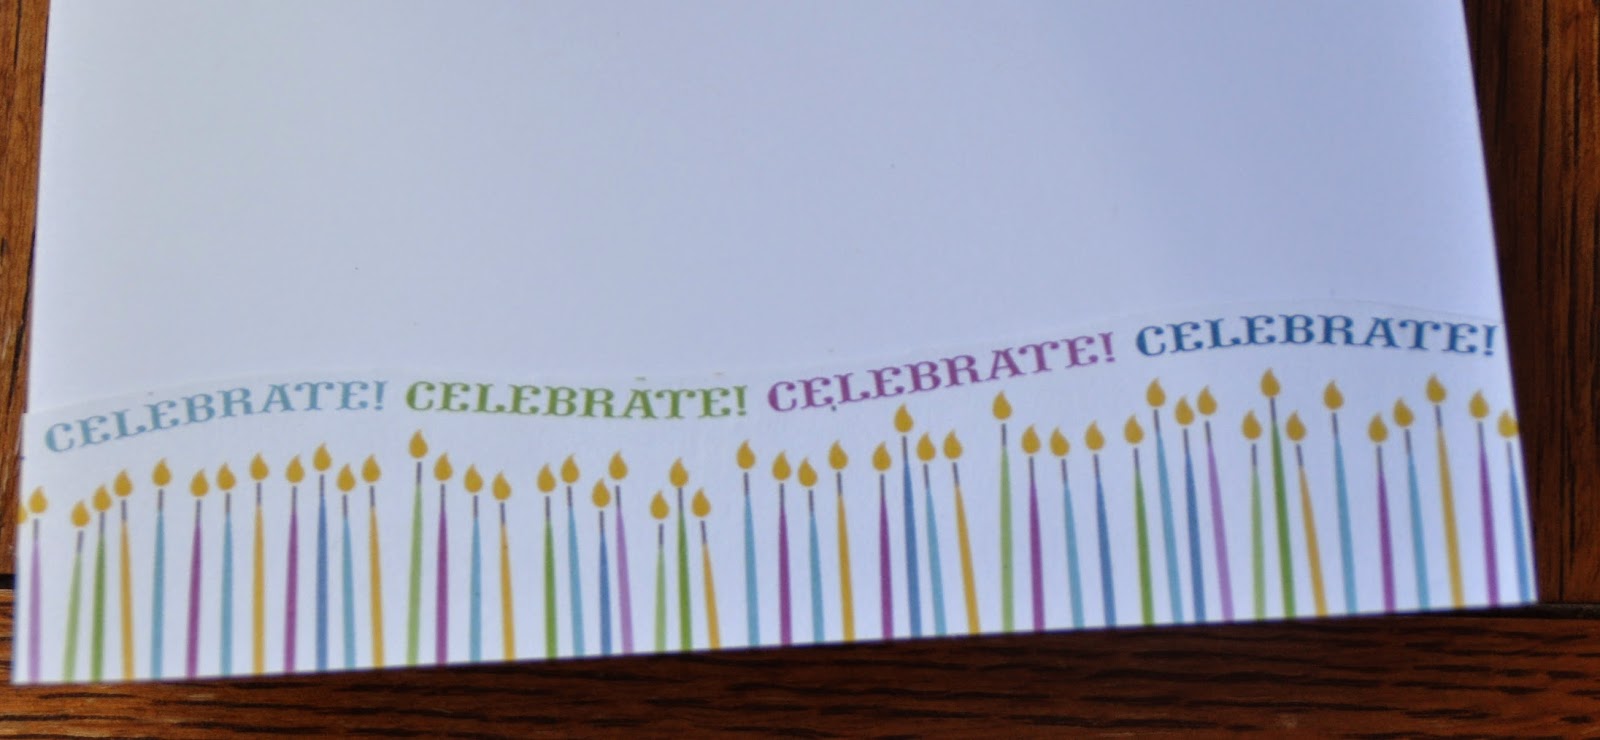
I made the candle by rolling up a scrap of paper. The wick is a small piece of bakers twine. Inside the card, I used a little more paper:
Adding the strip of paper inside seemed to complete the card.
I liked this card so much that I decided to add it to my Confetti Card Workshop this week.
Products used:
Confetti Wishes Paper Pack
Purple Glitter Paper
This card is part of my Confetti Card Workshop. Just $15 for 4 cards and 1 3-D object. If you can't make the class, I can mail you the kit at no extra charge. Just let me know if you are interested.
Hope you have fun with paper today!
Friday, August 29, 2014
Artbooking Made Easy: Fun in the Sun
Are you ready to scrapbook some of those beach pictures? Here is a great video to give you a few ideas.
Artbooking is an amazing Cricut cartridge. A must have for all scrapbookers. Come to my beginning Cricut workshop next week (September 6) and learn the basic ins and outs of the Cricut and the Artbooking cartridge.
Wednesday, August 20, 2014
Lighthouse Card
When the new Annual Inspirations Idea Book was unveiled to consultants at the end of June, one stamp set hit me as a must have right this moment stamp. That was the Seaside Greetings stamp set. I fell in love with the sailboat and the lighthouse. There was just something about those images that struck a cord with me. Since I was able to acquire the stamp set, I have made several cards with it. This one is my latest which I made a set of these cards for a card swap. Nothing fancy about this card. No new techniques. Just simple and elegant.
I used one of the sheets in the Seaside paper pack as a base, cutting the paper at 5 1/2 by 8 1/2. The lighthouse is stamped using desert sand ink on colonial white paper.
And of course, I had to add a little something inside the card. After all, you can't really write your note on the polka dots.
Products:
Just a reminder-- make a purchase from my website (cathryn.ctmh.com) in August and be entered to win $25 in products!
Saturday, August 16, 2014
Enjoying Older Photos
Yesterday afternoon I was preparing to go out with friends to a crop at Scrapbook Territory in Berkeley. I had been planning all week that I was going to work on a My Crush book documenting a recent trip. But as I was packing, I realized that I didn't have the pictures! I never picked them up! So what was I going to work on?
I tend to only print pictures when I have a plan for them. But before I went digital, I printed pictures every time I finished a roll of film (and there were a lot of rolls!). I have never scrapped all those old pictures and have several boxes of photos printed and waiting for me. With no pictures to scrap, I went for one of the boxes and hit 1998.
In 1998, we were a family of four- not five. My middle child was born that year. I loved looking at the old photos and spent some time with my memories. It took some time before I could actually pull myself away from the box.
I finally picked some pictures and some paper and headed off to meet my friends.
I chose some Halloween week photos from 1998. I was surprised to see that we went to three Halloween parties that year! Seeing us in costume made me laugh so hard. We called my oldest (then two years old) the Wild Thing. My mom made us all costumes from Where the Wild Things Are with Caitlyn as Max.

Once I was able to cut down the photos, the layout came easy. I used Scaredy Cat paper pack and complements along with black shimmer trim. That's it! The paper pack and complements made it so easy!

I'm planning to continue working on 1998. I don't have much left to finish off that year. How wonderful it will be when I have the entire year in the albums.
Products used:
I tend to only print pictures when I have a plan for them. But before I went digital, I printed pictures every time I finished a roll of film (and there were a lot of rolls!). I have never scrapped all those old pictures and have several boxes of photos printed and waiting for me. With no pictures to scrap, I went for one of the boxes and hit 1998.
In 1998, we were a family of four- not five. My middle child was born that year. I loved looking at the old photos and spent some time with my memories. It took some time before I could actually pull myself away from the box.
I finally picked some pictures and some paper and headed off to meet my friends.
I chose some Halloween week photos from 1998. I was surprised to see that we went to three Halloween parties that year! Seeing us in costume made me laugh so hard. We called my oldest (then two years old) the Wild Thing. My mom made us all costumes from Where the Wild Things Are with Caitlyn as Max.
One thing that was nice about scrapbooking these photos so long after the events was that I was able to let go of a lot of photos. If I scrapped this layout right away, I probably would have taken all three events and trick or treating and put them all on different pages. With time, I was able to distance myself from the photos and be a bit choosy on which photos to use. I didn't need them all-- just a sampling.
Once I was able to cut down the photos, the layout came easy. I used Scaredy Cat paper pack and complements along with black shimmer trim. That's it! The paper pack and complements made it so easy!
I'm planning to continue working on 1998. I don't have much left to finish off that year. How wonderful it will be when I have the entire year in the albums.
Products used:
Wednesday, August 6, 2014
Pinterest Inspiration
I think Glacier is my newest favorite color in our color palette. That light blue is just gorgeous. I saw a pin on Pinterest this morning with glacier colored flowers and knew that I had to make it! The pin sent me back to Alyson Mayo's blog where I found so many lovely, glacier flowers. I was in heaven. So, I made one. Here is my result (with which I am quite happy!).
And the inside:
I used the Cricut Artiste Cartridge to cut the flowers and the leaves. The paper used is Pathfinding, chocolate, glacier, and daisy white. The stamp set is Your Own Kind of Wonderful. I used the gold dots from the Yuletide Carol Assortment for the flower centers. But the flower inside the card has a different center. I want the card to close flat. So, I punched a circle from the gold shimmer trim to make the center of that flower.
You can find everything to create this card on your own on my website. Enjoy!
Tuesday, August 5, 2014
The New Annual Inspirations is LIVE! This book is filled with new products and ideas. Take a look at the online version of the book by clicking here. You can order an Annual Inspirations when you place an order or give me a call and I'll get one to you. Remember, while looking through the book, if you see a project you want to create, take a look at the recipes index at that same link.
I made this card using all new products! Take a look at the Brushed Paper Pack!
Such beautiful paper! The yellow is the new Canary color cardstock which comes with the Brushed Paper Pack or as part of the newly improved Whimsy Paper pack.
The stamp in the middle is a mini stamp called the Blooming Heart. I inked it with Archival Black ink instead of the usual water based black ink so that the black would not bleed as I colored it. I colored the image using the new ShinHan Touch Twin markers.
These markers are easy to use and fun to play with.
And lastly I used some shimmer trim. One of the new shimmer trim colors is gold. I love my shimmer trim and was very excited to get the gold.
This card was one of the projects at my New Products workshop last weekend. We had a lot of fun trying out all the new stuff. I recommend coming to a class once in a while. I do. It really helps stir up the creativity and gets me started on new projects (and finishing up old ones).
Hope you are able to have fun with paper today!
Subscribe to:
Posts (Atom)